Whoa, trying to get multiple monitors working with Remote Desktop can sometimes feel like wrestling with an octopus, right? Anyway, let’s get those extra screens working for you.
First, ensure you’re using the right version of Remote Desktop. Only the Pro, Enterprise, and Education editions of Windows 10/11 support multi-monitor setups. If you’re on a Home edition, time to upgrade.
Alright, follow these steps:
-
Open Remote Desktop Connection (mstsc):
PressWin + R, typemstscand hit Enter. -
Go to Display Tab:
Under the display tab, there’s a checkbox labeled “Use all my monitors for the remote session”. Tick that. -
Connect:
Go back to the General tab, enter your destination PC’s name, and hit Connect.
Sometimes it’s not as simple as checking a box. If it’s still not working, you might need to dive into Group Policy Editor (gpedit.msc):
-
Run gpedit.msc:
PressWin + R, typegpedit.mscand hit Enter. -
Navigate to Remote Desktop Settings:
Computer Configuration > Administrative Templates > Windows Components > Remote Desktop Services > Remote Desktop Session Host > Remote Session Environment. -
Enable “Use Multimon”:
Double click “Use Multimon” and set it to Enabled.
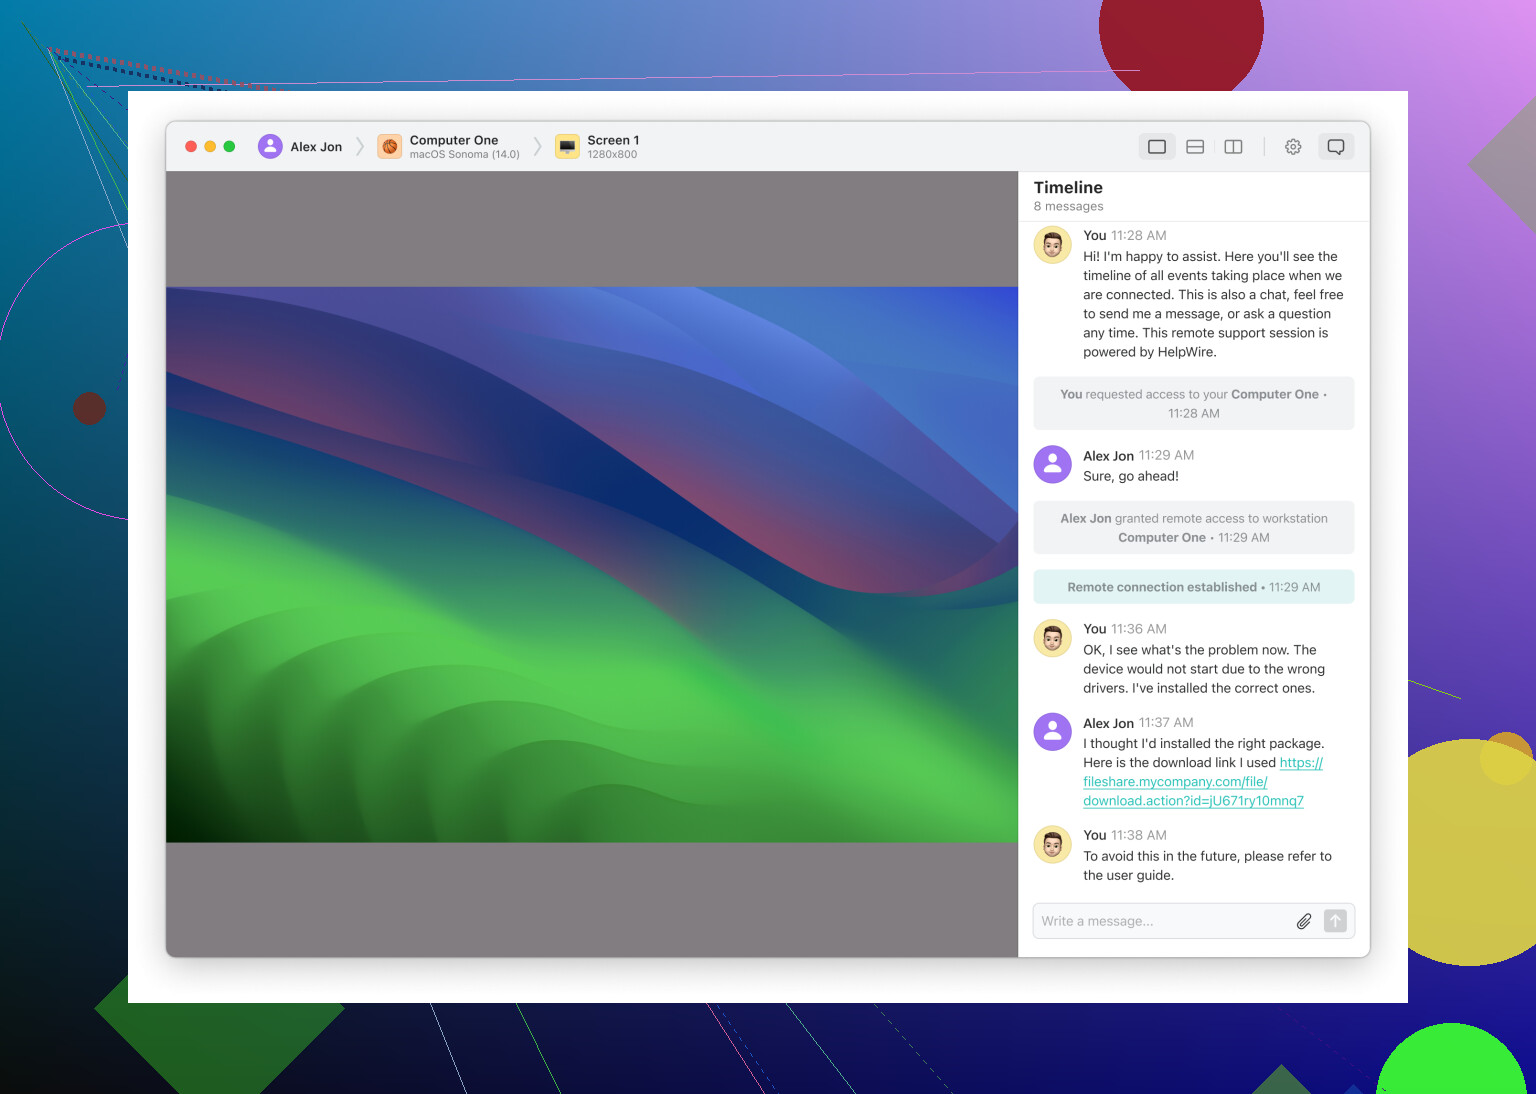
Still wrestling with that octopus? Consider using third-party software. HelpWire can streamline remote desktop on multiple monitors, making it much simpler. This tool ensures effortless multi-monitor setups, enhancing your productivity without the usual headaches.
Happy remote computing!