I found an old Mac hard drive that may still have important photos and documents on it, but I’m not sure if it works or how to connect it safely to a newer computer. I need advice on the best way to recover data from an old Mac hard drive without damaging the files.
The big thing is to stop touching the drive as much as possible. Seriously, that matters more than whatever recovery app you try first. Deleted or formatted doesn’t always mean the files were wiped right away. A lot of the time macOS has just marked that space as free, and the actual data may still be there until something new gets written over it.
If it’s an external drive, unplug it for now. If it’s the Mac’s internal drive, don’t install stuff, don’t download anything, and try to keep activity to a minimum. Even normal use can overwrite the space where your missing files are sitting.
I’ve had that stomach-drop moment too. Years ago I was sure I had copied my thesis to a flash drive, then realized I hadn’t. After messing with Macs for a long time, the main lesson is that “I can’t see it” and “it’s gone forever” are not always the same thing.
Before going into recovery mode, check the simple stuff. Look in the Trash first. Also, if this happened on an external drive, remember that external drives can have their own hidden trash folder. Open the drive in Finder, press Shift + Command + . to show hidden files, and look for a folder named .Trashes. If your files are in there, you may be able to right-click them and choose “Put Back.”
If that doesn’t turn anything up, check Time Machine next. If you had backups running, this is usually the cleanest fix. Enter Time Machine from the menu bar, go back to a date when the files were still there, select what you need, and restore it.
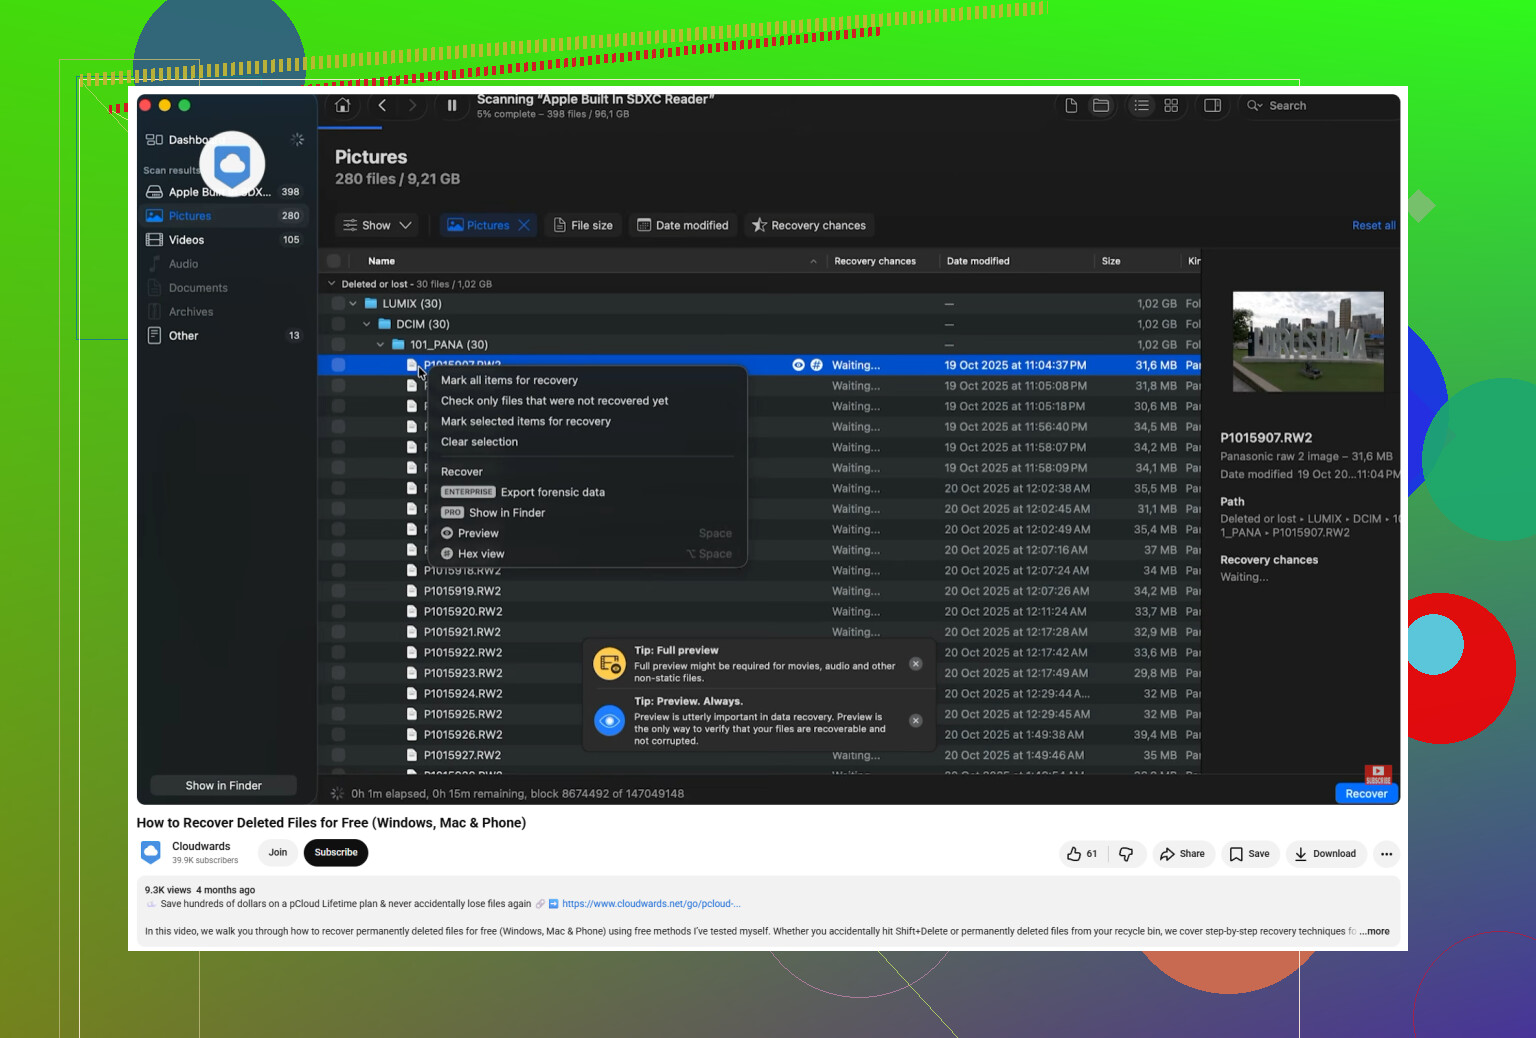
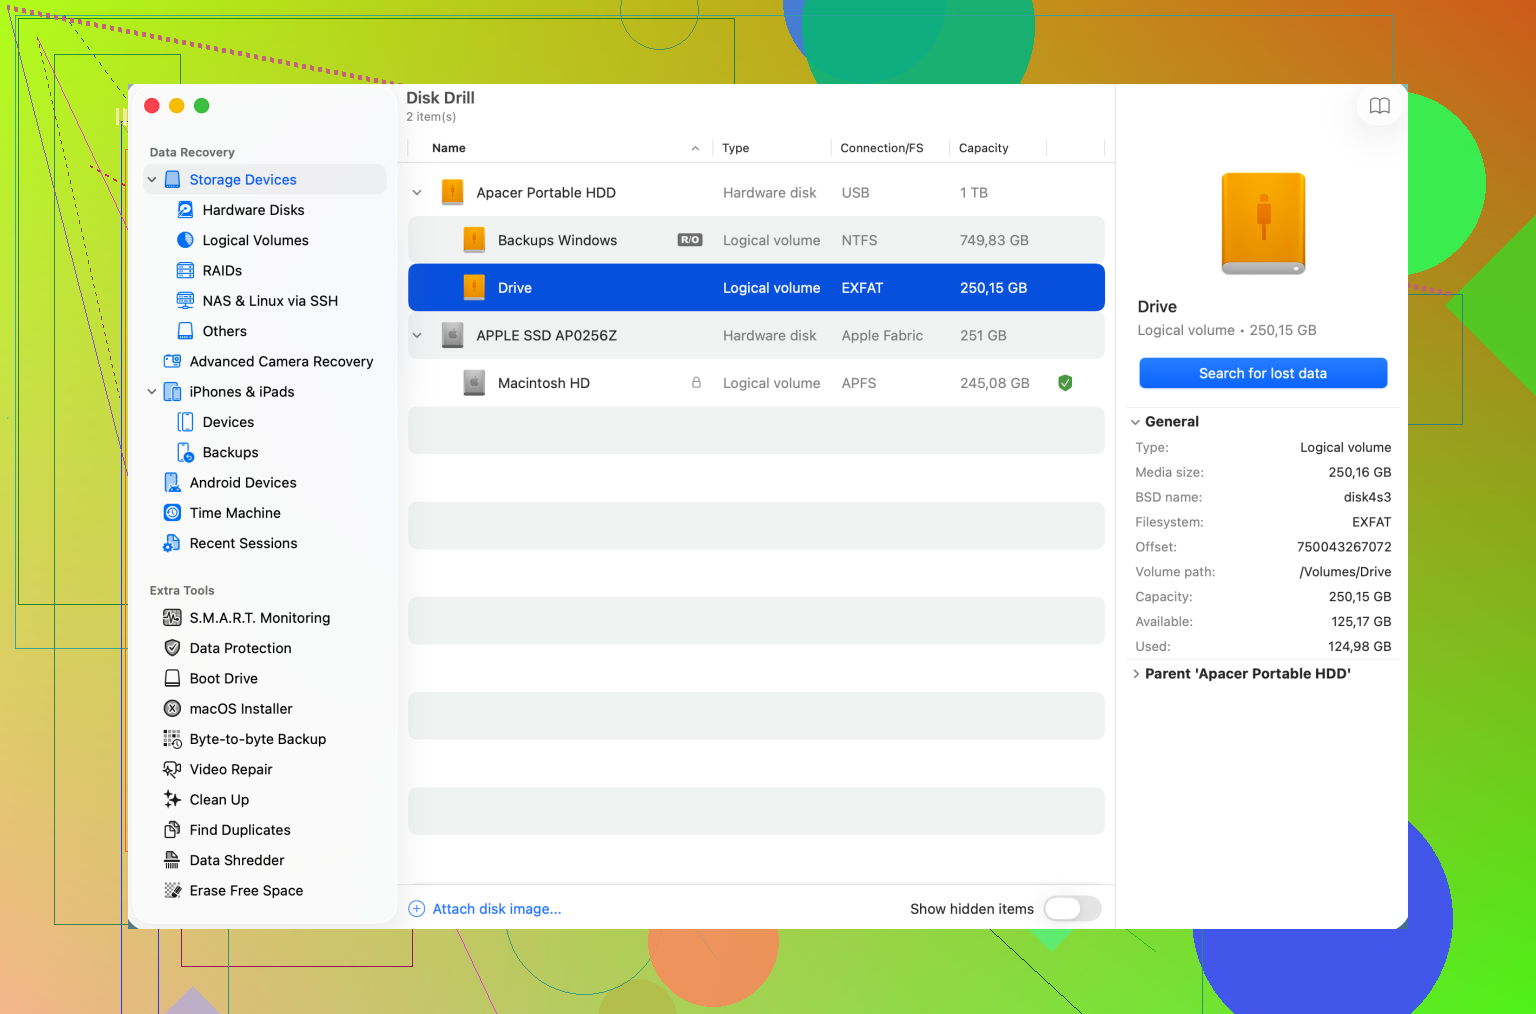
If there’s no Trash copy and no Time Machine backup, then you’re probably looking at recovery software. That’s usually the realistic middle ground before paying a recovery lab. I’ve had good results with Disk Drill, especially on Mac-formatted drives using APFS or HFS+.
One reason tools like that can work is they don’t only search by file name. They can scan for file signatures, so they’re looking for the structure of something like a JPG, document, video, and so on. If the drive seems unhealthy, like it disconnects, loads slowly, or acts flaky, use the Byte-to-Byte Backup feature first if you can. That makes an image of the whole drive, then you scan the image instead of repeatedly stressing the original hardware.
SSDs are a little more urgent. If this is an internal SSD on a modern Mac, TRIM can make deleted-file recovery much harder because the drive may clear deleted data in the background. So don’t wait around or keep using the machine like normal.
One exception: if the drive is clicking, grinding, or making strange mechanical noises, stop using software entirely. Unplug it. That’s physical failure territory, and recovery apps can’t fix broken hardware. If the files really matter, a professional recovery service is the safer route, even though it can get expensive.
For later, Time Machine plus some kind of cloud backup is the setup that saves you from going through this again. For now, keep the drive idle, check the easy places first, and then scan carefully with a proper recovery tool. If the data hasn’t been overwritten, there’s still a decent chance you can get it back.
13 Likes
A loose 2.5-inch SATA drive is usually a cheap USB enclosure job; an older IDE or oddball Mac drive can turn into an adapter hunt fast. Before running Disk Drill or anything else, plug it in only through the right adapter and do not click “Initialize,” “Erase,” or “Repair” if macOS offers. If it mounts, copy the most important folders to a different drive first, then worry about recovery scans after.
Check the label on the drive before buying anything. The adapter depends on the physical drive, not on the fact that it came from a Mac. A 2.5-inch SATA laptop drive is easy. A 3.5-inch desktop SATA drive needs an enclosure or dock with its own power supply. An older IDE/PATA drive needs a different adapter. Some really old Mac setups are easier to access through the original Mac than by pulling the bare drive.
If you still have the old Mac it came from, I would consider that route first. Booting it carefully or using Target Disk Mode/Share Disk can save you from guessing the enclosure type. If the machine powers on and the drive sounds normal, you may be able to connect Mac-to-Mac and copy files without removing anything. If it starts clicking or hanging forever, shut it down and stop there.
The missing caveat with “just plug it in” is power. A lot of cheap USB cables work fine for small 2.5-inch drives, but they are useless for 3.5-inch desktop drives because USB alone will not power them. People think the drive is dead when really it is just underpowered. A powered dock is usually the simplest option if you are not sure you will need the enclosure long term.
When macOS sees it, do not get curious in Disk Utility first. Finder mounting is fine. Copying is fine. But First Aid, repair, initialize, partition, convert, or “set up for Time Machine” are all things I would avoid until the important stuff is somewhere else. If macOS says the disk is unreadable and offers buttons, cancel or eject. That message does not always mean the data is gone.
For photos, copy the whole library file first. Old Macs may have an iPhoto Library or Photos Library package in the Pictures folder. Do not open it directly from the old drive if you can avoid it, because Photos may try to upgrade or change the library. Drag the entire library package to a healthy external drive, then open the copy later. Same idea for old Mail folders, project folders, and anything that looks like one file but is actually a package.
Permissions can be annoying too. If you copy an old user folder and get blocked from Desktop/Documents/Pictures, it might just be ownership from the old account. On a copied version, you can usually use Get Info and adjust permissions, or copy via an admin account. I would not start changing permissions on the original drive unless you have to.
If the drive mounts but is slow, copy in order of importance instead of trying to clone your entire digital life in one go. Photos, documents, tax stuff, passwords/Keychains if you know you need them, then everything else. A dying drive might give you one decent read session and then get worse, so the first copy pass should not be “Applications” and random caches.
Disk Drill and similar tools make sense after normal copying fails, not before. If the file system is damaged or files were deleted, scan an image of the drive if you can. Scanning the original over and over is where people accidentally turn a recoverable drive into a worse situation. The annoying part is you need another drive with enough free space to hold the image, which is easy to forget until you are halfway through setting things up.
If FileVault was turned on, recovery software will not magically bypass that. You will need the old login password or recovery key. Same story if the old Mac user account had encrypted disk images. The drive can be perfectly healthy and still look like nonsense without the key.
So my order would be: identify the drive type, use a powered dock/enclosure if needed, mount it without “fixing” it, copy the most valuable folders first, then make a clone or image before running recovery scans. If it makes bad mechanical noises, skip the DIY stage and decide whether the data is worth a recovery lab. That is the boring answer, but boring is usually what you want with old drives.