My hard drive started showing bad sectors, and now some files are slow to open or won’t copy at all. I’m worried the drive is failing completely and need help with the safest way to recover data before it gets worse. Looking for advice on hard drive data recovery, bad sector repair, and whether I should clone the drive first.
Hard drive with bad sectors. What I did, and what I’d do again.
I had this happen once on an old external drive full of photos and project files. First sign was slow reads. Then Windows started throwing bad sector errors. A day later it felt like the drive was moving through mud. If you’re seeing that now, stop using the drive.
If it’s external, unplug it. If it’s internal, leave it alone and do your work on another machine. Every extra read or write puts more stress on a drive that already looks shaky.
Bad sectors usually fall into two buckets.
Soft bad sectors. These are logic errors. The data and its error checking info don’t line up. Annoying, yes. Sometimes recoverable.
Hard bad sectors. This is physical damage on the disk itself. Old age, shock, wear, bad luck. If you hear clicking, grinding, or odd beeps, I would not mess with DIY recovery. I’ve seen people keep retrying scans until the drive stopped showing up at all. At that point, you’re looking at a lab job.
If the drive still mounts or at least shows up in the system, your best move is to image it first. Not scan it. Not browse it. Image it.
What you want is a byte-for-byte copy of the whole drive onto a healthy disk. Reason is simple. Recovery scans hit a failing drive hard. They read across the disk over and over, and I’ve watched weak drives fall over during that process. An image gives you one working copy to recover from while the original gets powered down and left alone.
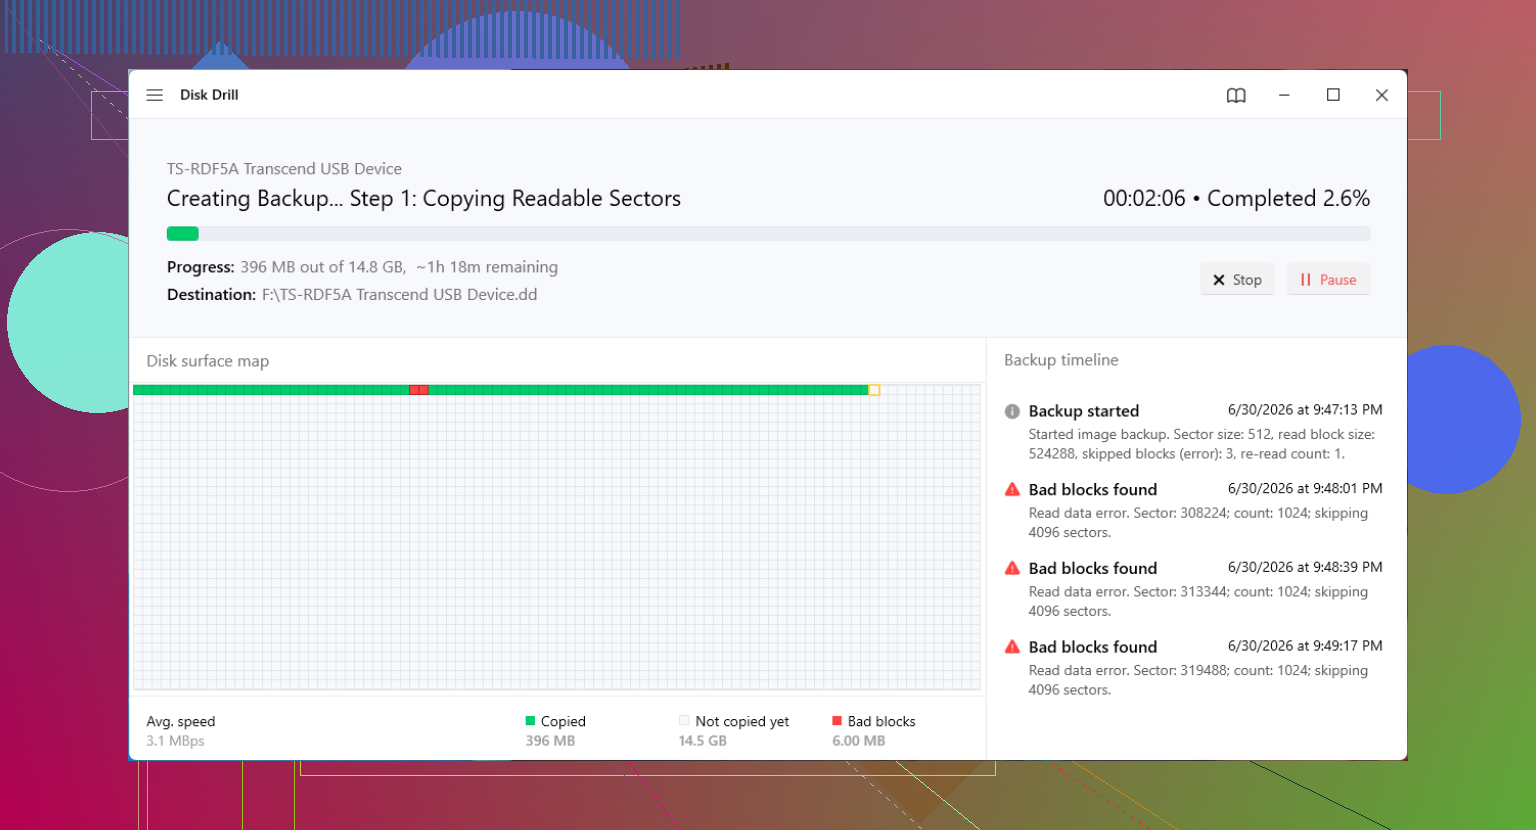
One tool people keep using for this is Disk Drill. The useful part here is its byte-to-byte backup feature. It’s meant for unstable drives and it handles bad blocks in a way that makes more sense than hammering the disk in one pass. It skips trouble spots, then retries with smaller block sizes. That matters when the drive starts choking on reads.
The rough process is:
- Install Disk Drill on a healthy computer.
- Connect the failing drive and another healthy drive with enough free space.
- Use the Drive Backup or byte-to-byte backup option to create an image.
- When the image finishes, disconnect the failing drive.
- Attach the image file in the software and scan the image, not the original disk.
It supports common file systems like NTFS and FAT32, so for normal Windows stuff you’re usually covered.
If you recover your files and start thinking, ‘maybe I can keep using this drive,’ I wouldn’t trust it much. You can try repair steps, sure. On Windows, chkdsk /r in PowerShell will scan the disk and mark damaged sectors so the OS avoids them. A full format, not a quick one, also forces a full sector check.
Still, once a drive starts collecting bad sectors, I treat it like a dead battery that hasn’t admitted it yet. Maybe it works for a bit. I still would not put anything important on it. Temporary junk, fine. Primary storage, no.
If the drive isn’t detected at all, or the image route gets you nothing, then it turns into a money question. Professional recovery usually lands somewhere around $500 to $3,000, depending on damage and what parts they need to swap in a clean environment. Painful, yeah. Sometimes worth it.
After this mess, set up 3-2-1 backups. Three copies of your data. Two kinds of storage. One copy off-site, like cloud storage. I ignored this for too long. Then a drive started clicking at 11 p.m. and I stopped feeling clever.
10 Likes
Stop trying to open files one by one. That hurts your odds.
I agree with @mikeappsreviewer on one big point, image the drive first. I disagree on running CHKDSK early. Don’t do repair passes on a sick drive before recovery. CHKDSK changes metadata and keeps reading bad areas. I’ve seen it make a messy drive worse.
My order would be:
-
Check SMART first with CrystalDiskInfo or smartctl.
If you see reallocated sectors, pending sectors, or uncorrectable errors climbing, treat the drive as failng now. -
Clone or image with the least stress possible.
Disk Drill is fine for this, especially if you want a simpler UI. HDDSuperClone or ddrescue are stronger picks if the drive is dropping reads hard, because they give better control over retries and skipping. -
Recover from the image, not the source drive.
If the file system is damaged, use recovery software on the image file. -
Copy your most important folders first if imaging keeps stalling.
Family photos, docs, work data. Leave movies and games for last.
If the drive is making clicks, disappears from BIOS, or freezes the PC on connect, stop DIY. Lab recovery is the safer move.
For anyone searching this later, this thread on recovering data from bad sectors before drive failure is worth reading too.
After you get the data off, retire the drive. Don’t test your luck twice.
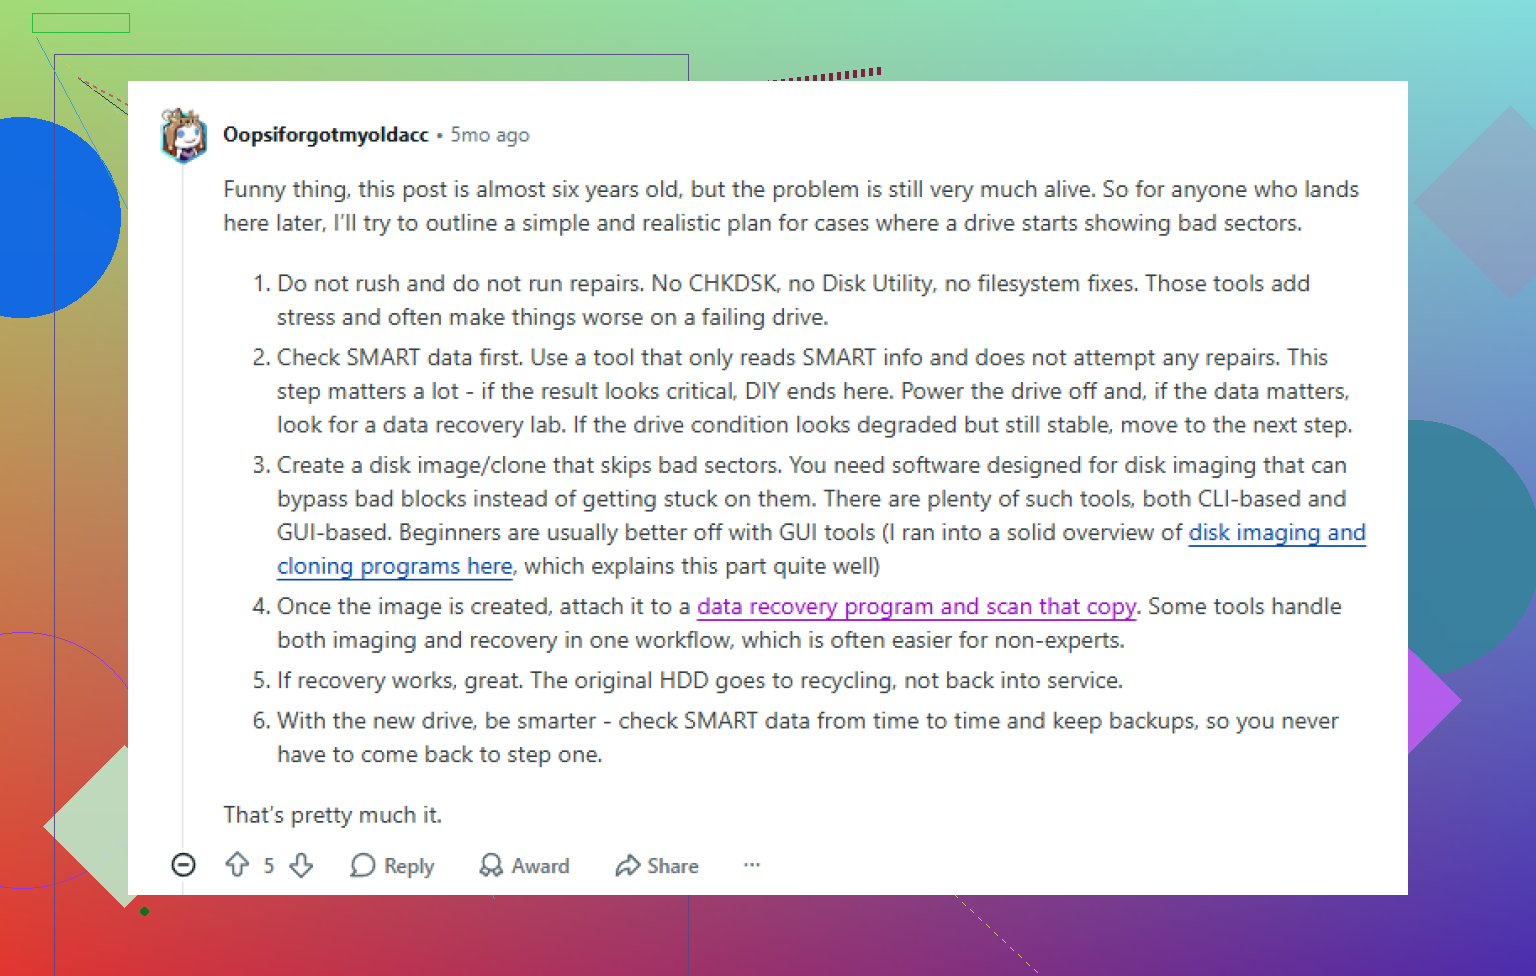
Stop opening random files to “see what still works.” That’s one part where I’m fully with @mikeappsreviewer and @himmelsjager. But I’d add one thing they didn’t really stress enough: check the connection before you assume every bad sector warning means the platters are toast.
I’ve seen flaky USB cables, bad SATA cables, and weak external enclosures cause read errors that looked like a dying drive. Not super common, but common enough that it’s worth a 2 minute swap. Do that once, then stop poking at it.
My order would be:
-
Move the drive to the coolest, most stable setup you can.
Bad drives hate heat and cheap USB hubs. Plug it directly in. -
Copy only the irreplaceable stuff first if the drive is still semi-readable.
Not whole folders full of junk. Documents, photos, project files. Skip Steam libraries and movies for now. -
If it starts hanging during normal copying, switch to imaging or recovery software.
This is where Disk Drill makes sense, not because it’s magic, but because it lets regular people create a disk image and work from that instead of torturing the original drive. That part matters. -
Do not defrag it. Seriously. I can’t belive people still try this.
-
If the drive makes clicking noises or disappears mid-copy, power it down. DIY time is over.
Also, slight disagreement with the “full format later” idea. If a drive already showed real bad sectors, I wouldn’t waste time “testing” it for future use. Retire it. Drives are cheaper than regret.
If you want a simple walkthrough, this Disk Drill data recovery guide for failing drives is a decent place to start.

One thing I’d push back on a little: “copy the important folders first” is smart only if the drive is still reasonably stable. If every read is timing out, lots of small file copies can be worse than a controlled image pass.
What I’d add to @himmelsjager, @viaggiatoresolare, and @mikeappsreviewer is this: watch the drive’s behavior, not just the bad sector count. A drive that slows to a crawl, briefly disconnects, or spikes to 100% active time with almost no throughput is often in the “don’t keep experimenting” stage.
A few practical things not mentioned enough:
- Disable auto-mounting tools, thumbnail previews, media indexing, and antivirus scans on that drive while recovering. Those background reads waste precious chances.
- If it’s an external HDD, use a powered USB port or powered enclosure. Weak power causes ugly read instability.
- If the data is truly valuable, avoid rebooting over and over with the failing disk attached. Spin-up stress is real.
On Disk Drill specifically:
Pros
- Easy imaging workflow
- Good for scanning an image instead of the original disk
- Friendly UI for non-experts
Cons
- Less control than ddrescue/HDDSuperClone on really unstable hardware
- Deep scans can still take ages
- Not the tool I’d choose first for severe mechanical symptoms
So yeah, Disk Drill is a solid middle ground if the drive is still visible and you want a simpler path. But if the disk starts clicking, vanishing, or freezing the system, stop DIY and price a lab before the heads do more damage.
And after recovery, retire the drive. Not “reuse for unimportant stuff.” Retire.