I accidentally emptied the Trash on my Mac and deleted important files from an APFS drive. I need help figuring out the safest way to recover deleted APFS files without overwriting anything or making recovery harder.
First thing: stop using the drive if you haven't already. That's probably the most important part. The actual deletion isn't always what kills your chances. It's what gets written to the drive afterward.
If this was a regular hard drive (HDD), recovery is often still possible as long as the deleted files haven't been overwritten yet. With an SSD, it's a lot more hit or miss because of TRIM. Once TRIM clears those deleted blocks, recovery software isn't going to bring them back.
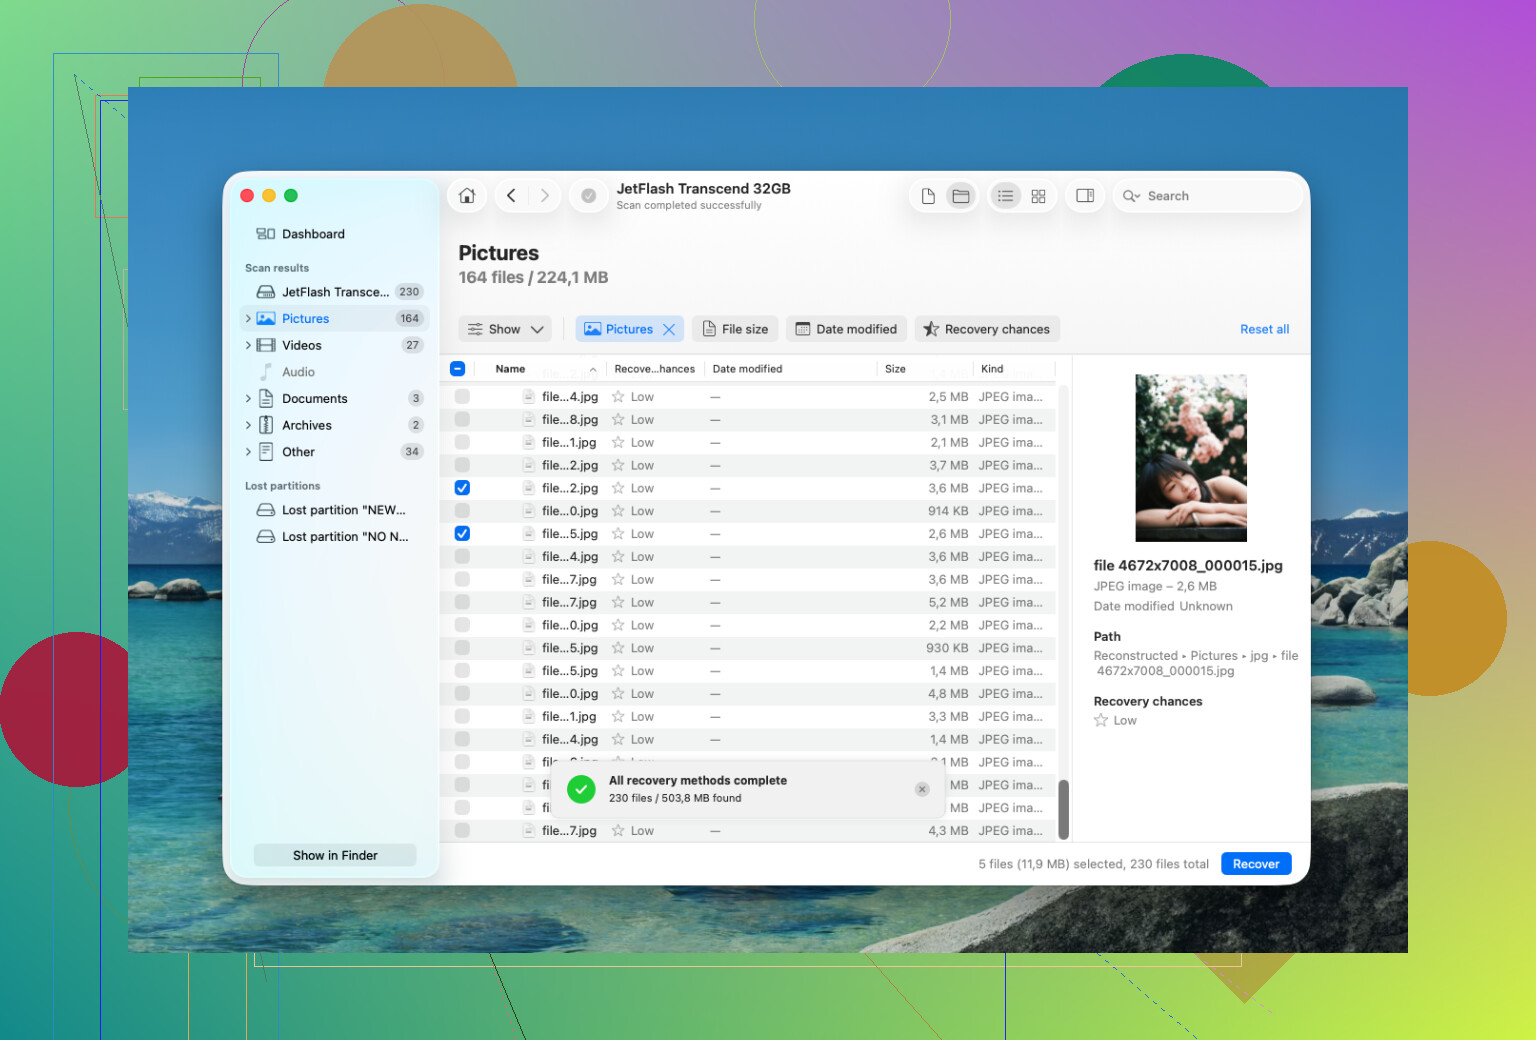
I had to deal with something similar and ended up using Disk Drill. It was pretty straightforward, but the key is to avoid installing or recovering anything onto the same drive you're trying to save.
The basic process was:
- Install Disk Drill on another drive, not the affected one.
- Connect the APFS drive, or select the internal drive if that's where the missing files were.
- Give Disk Drill Full Disk Access in macOS, since APFS scans can be limited without it.
- Choose the APFS volume and run the full scan using 'Search for Lost Data'.
- Let the scan finish instead of grabbing the first files that show up.
- Use preview to make sure the files actually open before recovering them.
- Recover only what you need, and save it to a different drive.
One useful thing is that Disk Drill can keep the original folder layout for a lot of files. That matters more than it sounds, because sorting through a pile of renamed files is miserable. It also gives recovery chances for many items, so you can get a rough idea of what's likely to come back cleanly.
If the drive was erased in Disk Utility, don't assume that means everything was physically wiped. A quick erase often removes file system info without immediately overwriting all the actual data. So recovery can still work, especially if you haven't written new files to it.
The big exception is an encrypted APFS volume. If FileVault was on and the drive was formatted, the old encryption keys may be gone. In that case, the data usually isn't recoverable in any practical way.
If Disk Drill doesn't find what you need, PhotoRec is another option. It's free, but it's rougher to use. It looks for file signatures instead of relying on APFS metadata, so you usually lose filenames and folder structure. Still, it can be worth trying for photos and videos.
I wouldn't keep pushing DIY recovery if the drive is acting physically bad, though. Stop if it:
- keeps disconnecting,
- clicks, grinds, or beeps,
- only shows up sometimes,
- or freezes during scans.
At that point, a recovery lab is the safer move. Powering up a failing drive over and over can make the damage worse. A lot of reputable labs offer a free evaluation and work on a 'no data, no fee' basis. Cost can be a few hundred dollars for a simpler logical recovery, or well over $1,000 if there's physical damage or clean-room work involved.
If this is just accidental deletion or a quick format, though, software recovery is usually where you have the best shot. Just act fast and don't write anything else to that drive.

17 Likes
If Time Machine was enabled at any point, check that before running recovery scans. APFS can have local snapshots, and sometimes the file is still recoverable from a snapshot even after Trash is emptied, especially on the internal drive. Open the folder where the file used to live, enter Time Machine, or check recent backups if you use an external backup disk. That is safer than scanning because it does not write recovered guesses back or rely on carved files. If there are no snapshots or backups, then I agree with the stop-using-the-drive advice above and would scan from another drive, but I would try the boring backup route first because it preserves names, folders, dates, and file integrity without the usual recovery mess.

Do not run First Aid or “repair” the volume yet. That sounds helpful, but it can change file system metadata, and metadata is exactly what APFS recovery tools may need if you want original names and folders back.
If the deleted files were on your internal Mac SSD, the safest move is to stop booting from it as soon as possible. Every login, browser cache, iCloud sync, Spotlight update, app update, and temp file can write to the same APFS container. If you have another Mac, target disk mode or an external boot drive is better than installing recovery software on the damaged system. If it is an external APFS drive, unplug it until you are ready to scan it.
My preference would be: clone/image the drive first, then scan the clone. Some tools, including Disk Drill, can work with disk images, and that is less risky than repeatedly scanning the original device. If the drive is large, you’ll need another drive with enough free space for the image plus recovered files. Annoying, yes, but it gives you a second chance if the first scan or recovery attempt goes badly.
The realistic part: APFS on an SSD with TRIM can be brutal. If TRIM already cleared the blocks, no software is going to reconstruct the actual file contents. But if there is an APFS snapshot, Time Machine backup, or the files were on an HDD/external disk that has not been written to, your odds are much better. So I’d check snapshots/backups first, avoid repair utilities, image the disk if possible, and only then scan.