My SD card suddenly stopped opening on my computer after I moved some photos and videos, and now it shows errors or nothing at all. I’m worried the card is corrupted and need help figuring out how to recover the files and get the SD card working again.
I hate this one because it usually hits at the worst time. You finish a shoot, plug the SD card in, and the computer throws an error or shows an empty card. I did this to myself more than once by yanking the card too fast and hoping for the best. Bad move. The first thing I’d tell you is simple, stop using the card right now.
Don’t keep reinserting it into your phone, camera, or laptop to “check one more time.” Each extra write or system prompt raises the chance of overwriting the files you want back.
The order matters here. Recover first. Repair later. A lot of people go straight to formatting, repair commands, or whatever Windows suggests in the pop-up. I did that years ago and made recovery harder than it needed to be. When the file system is damaged, your data often still exists. The index is broken, not always the files.
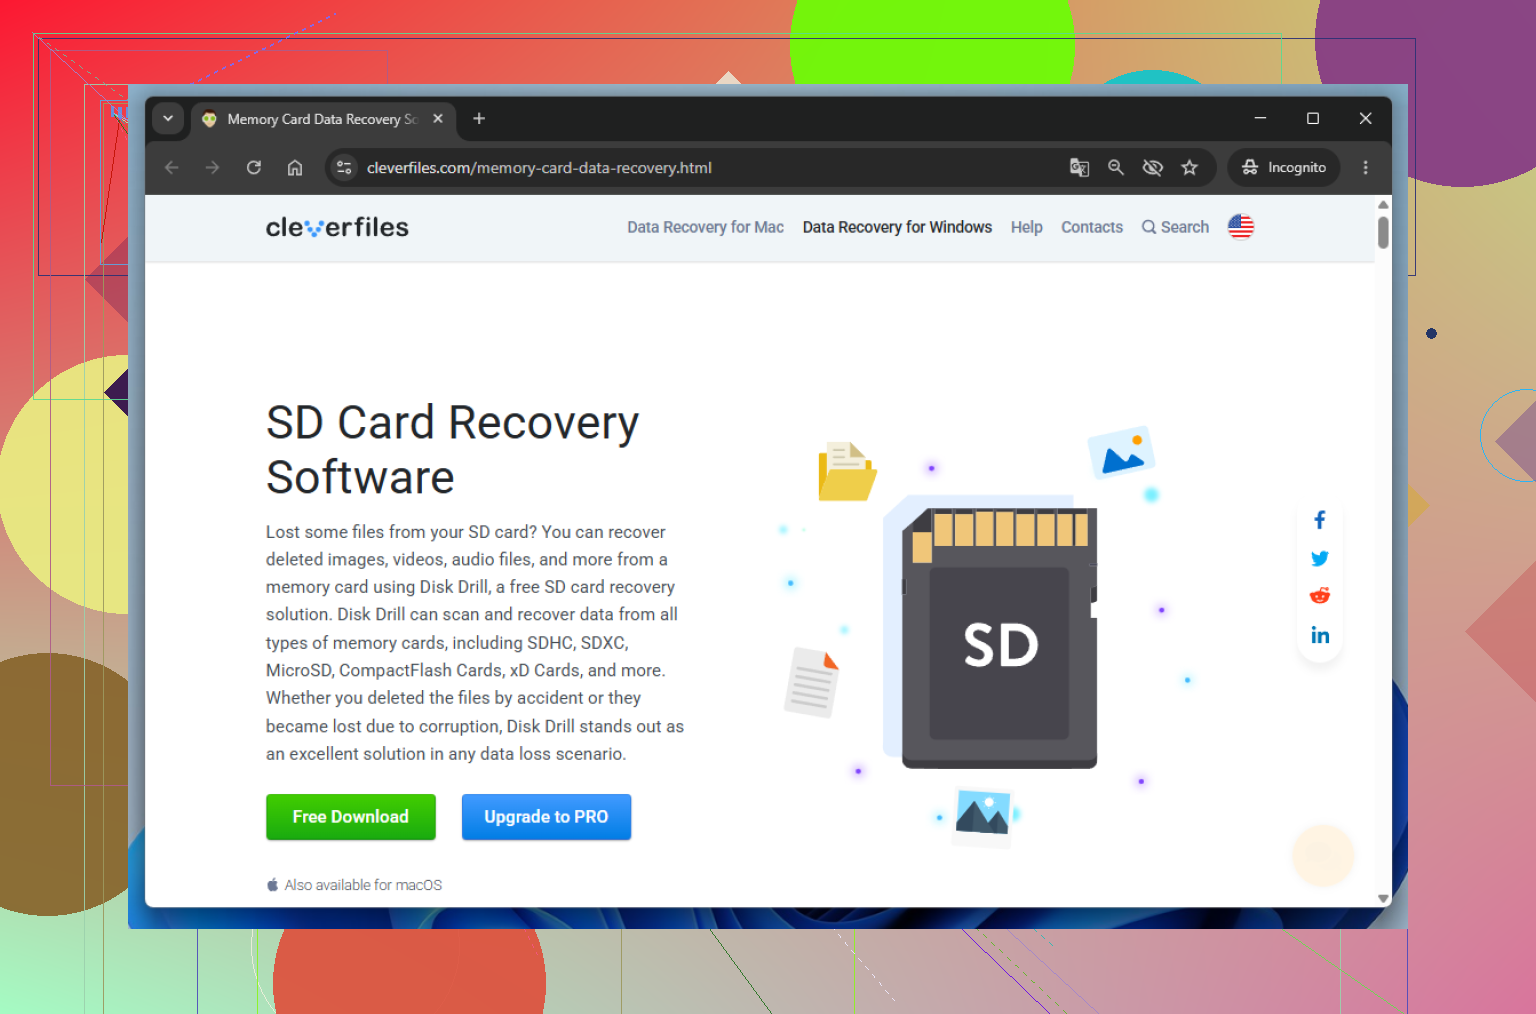
If the photos or video matter, I’d start with recovery software before touching repair tools. I’ve had good results with Disk Drill, mostly because it doesn’t feel like a lab project and it has one feature I wish more people used, byte-to-byte backup.
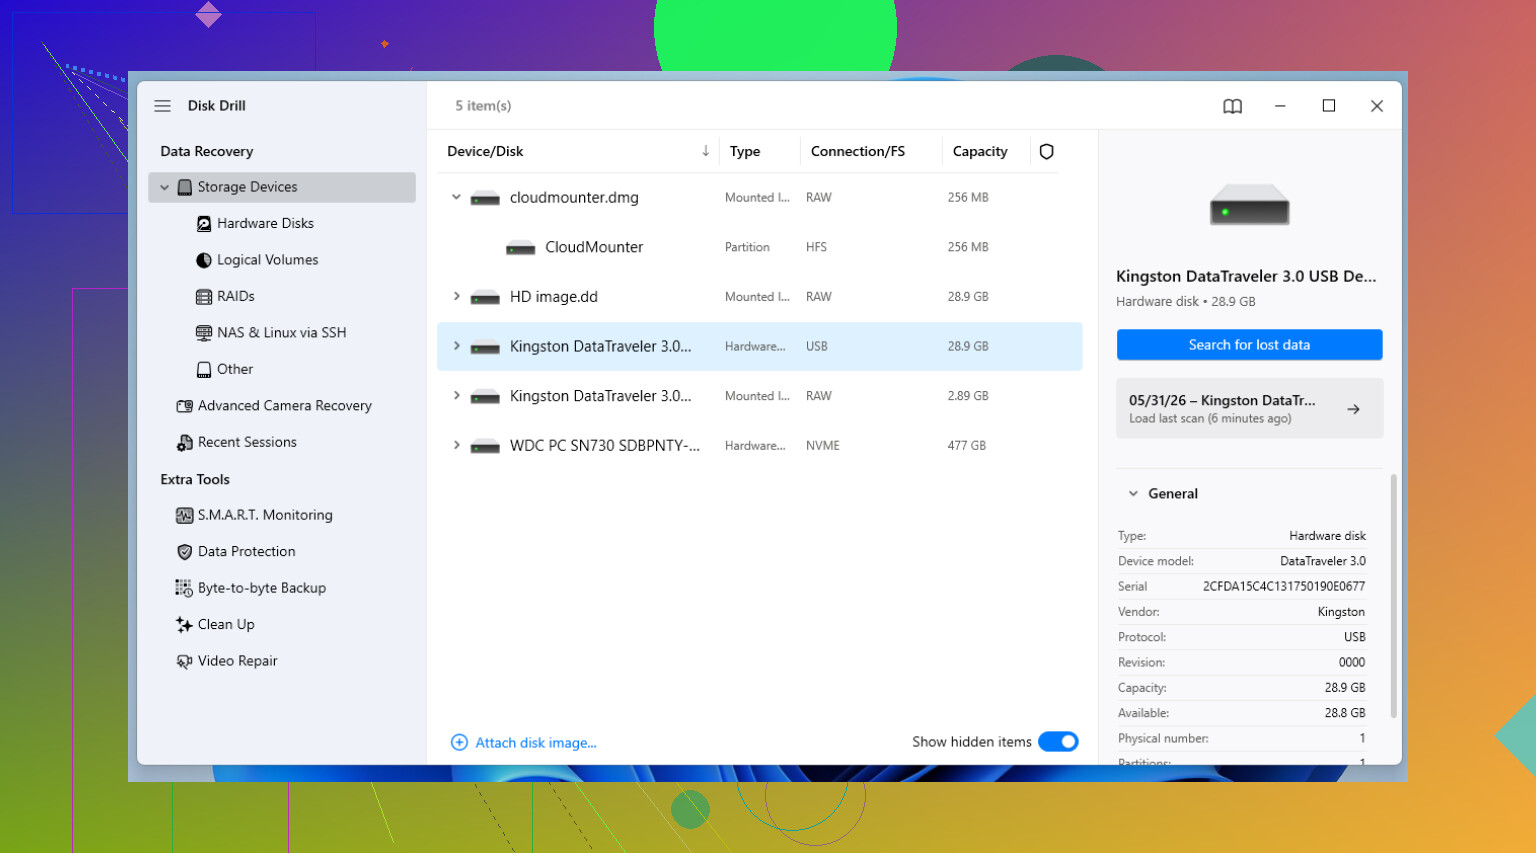
This part matters more than people think. A corrupted SD card is sometimes a worn-out SD card. If the hardware is slipping, repeated scans are rough on it. Disk Drill lets you make a full image of the card, sector by sector, onto your computer. After that, you work from the image instead of hammering the original card over and over. I’ve seen cards disappear mid-scan, so this step is not me being dramatic.
Once your files are recovered, or once you’ve decided the data is gone and you want the card back in service, then start the repair side. This is the order I usually follow.
1. Check the boring stuff first
Yeah, obvious, but still. Swap the USB port. Swap the reader. Those tiny microSD adapters fail a lot. I’ve had one look dead for an hour, then read fine in a different reader. If you’re using a built-in laptop slot, try a separate USB card reader instead. Sometimes the card isn’t the problem.
2. Look in Disk Management
On Windows, right-click Start and open Disk Management. If the card shows up there but has no drive letter, Windows won’t show it properly in File Explorer. Right-click the volume, pick Change Drive Letter and Paths, then assign one. I’ve had cards come back instantly after doing this. Weird fix, but it happens.
3. Run the built-in error check
File Explorer, right-click the SD card, Properties, Tools, then Check. This is the low-risk first pass. It looks for file system problems and tries to patch them. I use this before the command line stuff.
4. Run CHKDSK if the basic repair doesn’t help
Open Command Prompt or Terminal as Administrator. Then run chkdsk X: /r, replacing X with the SD card’s drive letter. The /r switch tells Windows to scan for bad sectors and recover readable data where it can. It’s slow on large cards. On a 128 GB card, I’ve had it sit there long enough to make coffee and forget I started it.
5. Use TestDisk if the partition is missing
If the card appears as unallocated, or the partition vanished, TestDisk is worth a look. No pretty interface. No hand-holding. Still, it’s one of the few tools I’ve seen pull a “blank” card back into view by rebuilding the partition table. If you’re comfortable reading menus carefully, it’s solid.
6. Format the card if repair fails
If nothing else works, formatting is the cleanup step. Standard format first. If that fails, a low-level format tool is the next thing I’d try. For general use, I stick with exFAT because it plays nicely with large files and works across most devices.
One more thing. If an SD card starts corrupting out of nowhere, I stop trusting it. Flash storage wears out. The failure rate doesn’t stay theoretical once it happens to your files. I usually retire those cards from anything important and replace them with something from a known brand like SanDisk or Kingston.
And yes, I learned this the annoying way, use Safely Remove or Eject. Skipping it saves maybe one second. Losing a shoot costs a lot more than one second.
10 Likes
Stop trying to open it over and over. If the card mounts once in ten tries, copy nothing from it yet. First, check if your camera still reads it. If the camera sees the photos, copy them with a USB cable from the camera, not the card reader. I’ve had this work when Windows kept acting dumb.
I differ a bit from @mikeappsreviewer on CHKDSK timing. On flaky SD cards, CHKDSK has trashed folder names for me and made a clean recovery harder. I treat it as a later step, not an early one.
What I’d do:
- Test a different reader and different PC. Cheap readers fail a lot.
- If Windows sees the card size but won’t open it, make an image first. Disk Drill is good for this.
- Scan the image, not the card, for recovery.
- If the card shows RAW, skip repair tools at first and recover files.
- After recovery, format the card in SD Memory Card Formatter, not Windows quick format. It fixes alignment issues better on some cards.
Also check Event Viewer on Windows. Look for disk or ntfs errors right when you insert the card. If you see repeated I/O errors, the card is dying, not “corrupted.”
If you want a step-by-step video, this is solid: how to recover files from a corrupted SD card
If the files matter a lot and the card disconnects mid-read, stop there. Don’t keep poking at it. That’s where poeple make it worse.
Don’t “fix” it first. That’s the one part I’d push harder on than @mikeappsreviewer, and kinda in line with @techchizkid. If the card is showing empty, RAW, or asks to format, treat it like a data recovery job first and a repair job second.
A couple things I’d add that they didn’t really get into:
- Check the card’s write-protect situation. Full-size SD adapters can get weird if that little lock slider is loose. I’ve seen a bad adapter make a perfectly fine microSD look dead.
- On Windows, open Device Manager. If it appears under Disk drives but not in File Explorer, that tells you the controller still sees something, which is useful.
- On Mac, check Disk Utility and System Information. Sometimes Finder acts like the card doesn’t exist even when the OS still detects it.
- If the card gets super hot fast, disconnect it. That’s a bad sign, not “normal flash behavior.”
My order would be:
- Try another reader/adapter.
- Try another computer.
- If detected at all, make a disk image.
- Recover files from the image with Disk Drill or similar.
- Only after that, test reformatting the card.
Also, small disagree with the “maybe keep using it if it works again” crowd. Nah. Once an SD card starts acting shady, I retire it from anything important. They’re cheap. Lost photos aren’t.
If you want extra reading, this thread has practical tips for recovering files from a corrupted SD card and covers a few recovery angles people miss.
And if Disk Drill can’t image the card cleanly because it keeps disconnecting, stop messing with it. That’s the point where DIY can make it worse tbh.
One thing I’d add to what @techchizkid, @viajeroceleste, and @mikeappsreviewer covered: check the card in a Linux live USB if Windows keeps throwing vague errors. Linux sometimes mounts a damaged SD card read-only when Windows just gives up. If it does, copy the files off immediately to your hard drive, not back onto the card.
I also slightly disagree with using Windows’ built-in error check early. Even that can change metadata. If the files matter, my preference is:
- test another reader
- test Linux live USB
- if detected, clone or image it
- recover from the image
- only then attempt repair or format
For imaging and recovery, Disk Drill is decent because it can create a backup image and scan that instead of stressing the card. Pros: easy UI, good for photos/videos, imaging feature is useful. Cons: not the cheapest option, deep scans can take a while, and if the card is physically failing badly it still won’t perform miracles.
Another thing people skip: inspect the contacts. Dirty or oxidized contacts can make a card look corrupted. Wipe gently with isopropyl alcohol and let it dry fully before retrying.
If the card capacity suddenly shows wrong, like 31 MB instead of 64 GB, that points more to controller failure than simple corruption. At that stage, DIY recovery usually gets ugly fast.