I accidentally deleted some important files and then cleared the Recycle Bin on my Windows PC. I need a free way to recover deleted files from the Recycle Bin if possible, but I’m not sure which recovery methods or tools are safe to use.
First thing: stop writing anything to that drive if the files matter. Deleted files usually aren’t erased right away. Windows often just marks that space as available, and the real danger is new data getting written over it. Even normal stuff like installing apps, downloading files, or browsing can lower your odds.
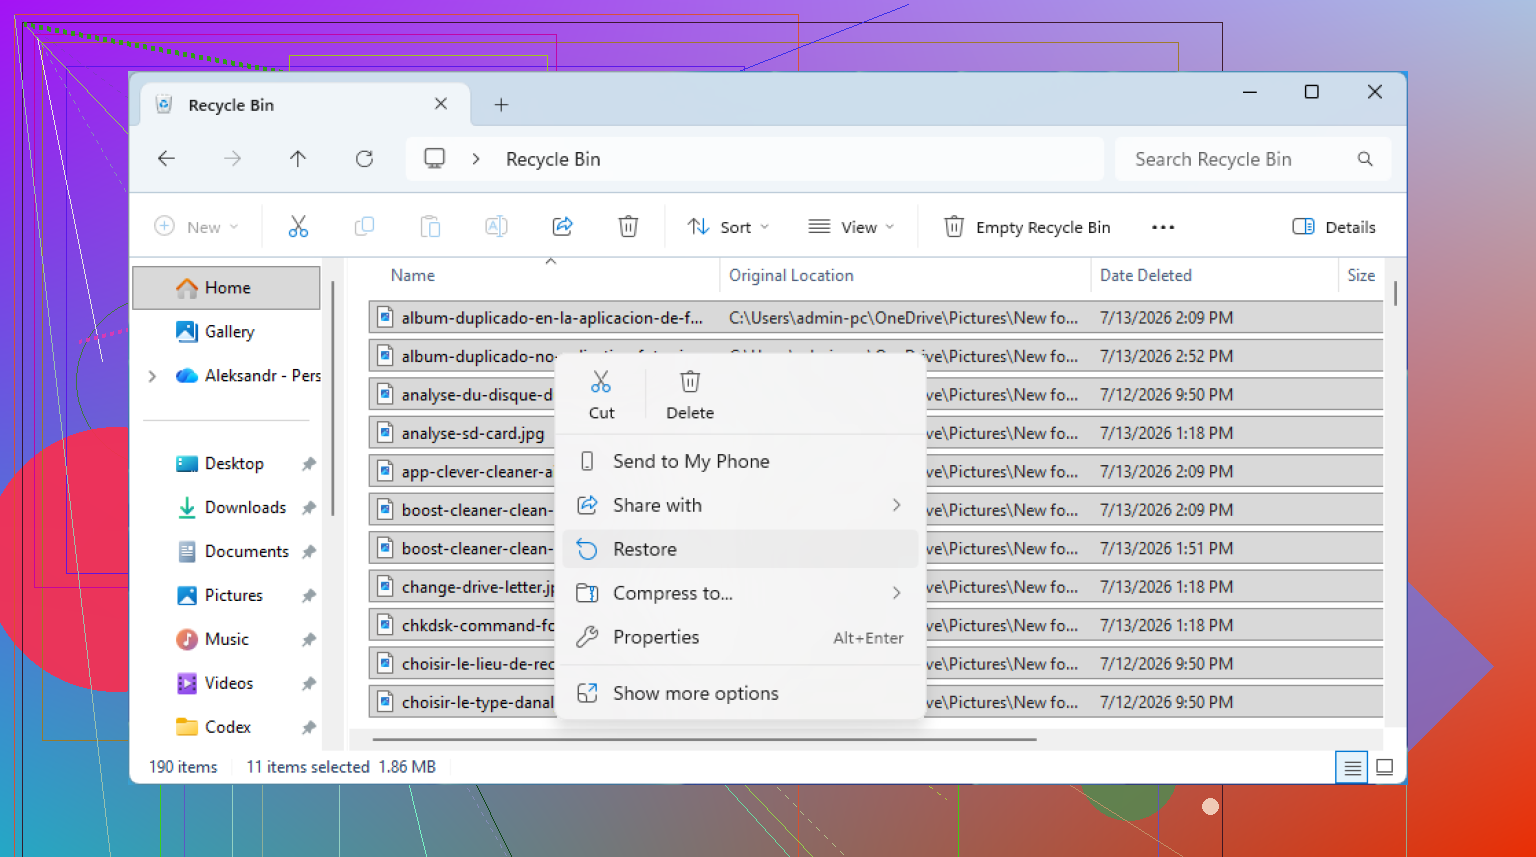
Before getting into recovery software, check the Recycle Bin again. It sounds dumb, but it’s worth doing. Sometimes the file is still there, or it was inside a deleted folder instead of being deleted on its own. Open the Recycle Bin from the desktop, find the item if it’s there, right-click it, and choose Restore. That should put it back where it came from.
If the Recycle Bin is actually empty, check whether Windows File History was enabled. Go to the folder where the file used to be, right-click in that folder or on the folder itself, and choose “Restore previous versions.” If Windows has backups, you can browse older versions by date and copy the missing file back out. You can also go through Control Panel > System and Security > File History, then choose “Restore personal files.”
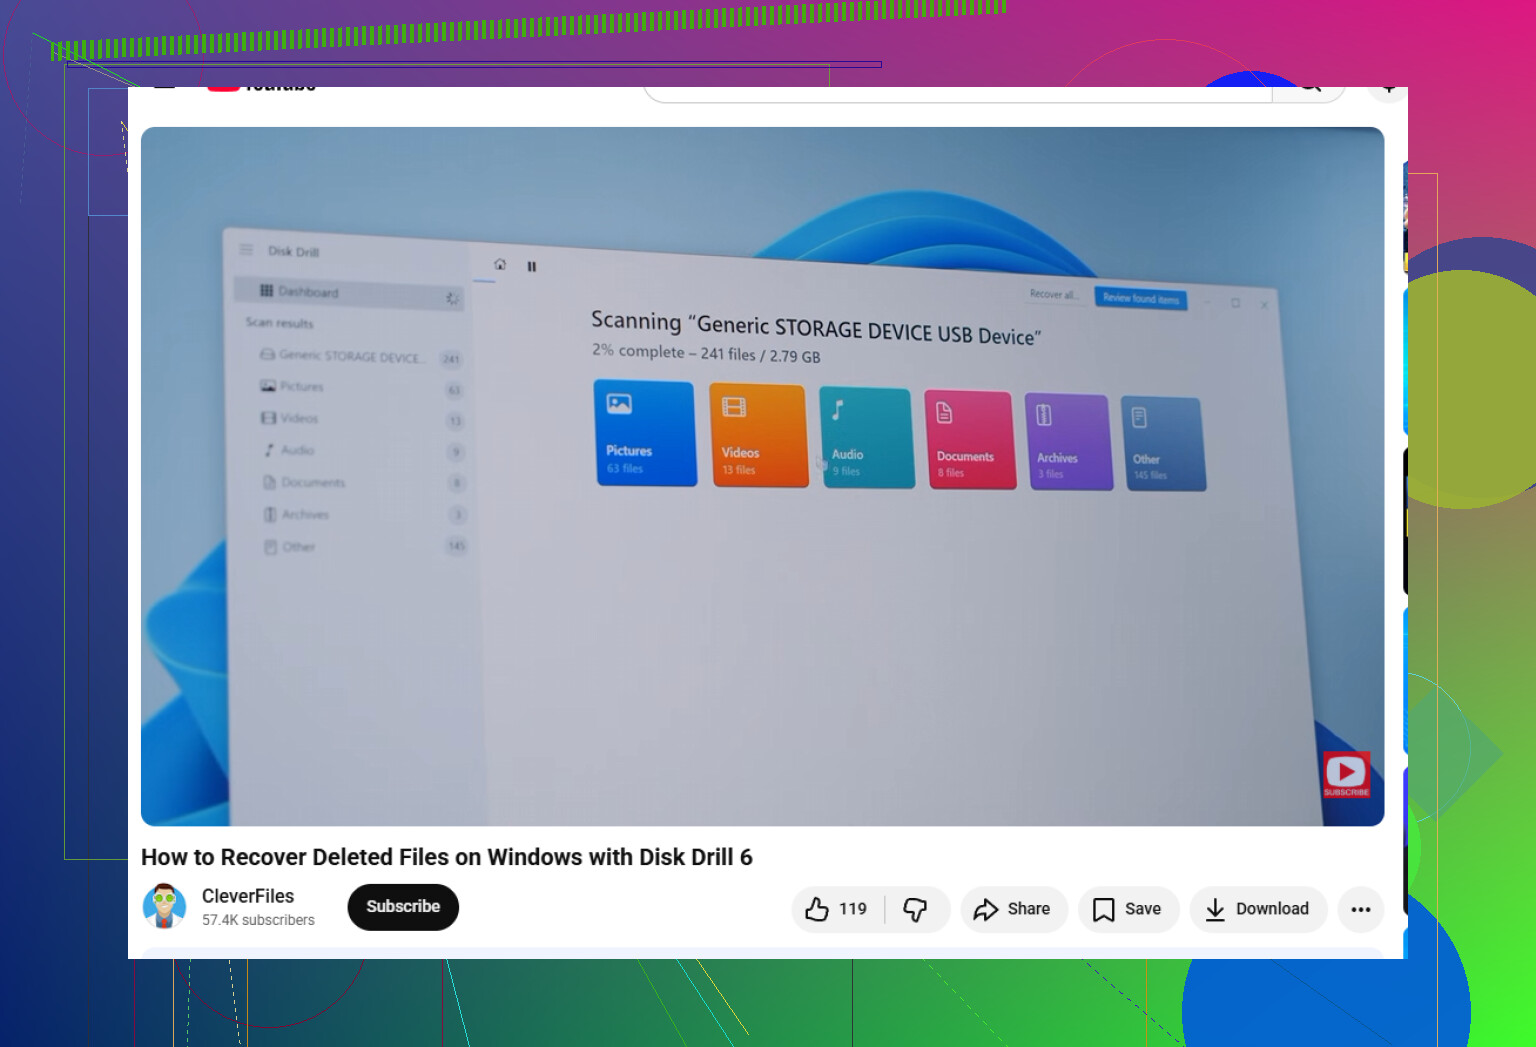
If there’s no backup, a recovery tool is probably the next step. I’d use Disk Drill for this because it’s pretty straightforward but still handles common file systems like NTFS and FAT32, and it can recover things like photos, videos, and documents.
The important part is where you install it. Don’t install Disk Drill on the same drive you’re trying to recover from. If the lost files were on C:, install it on a USB drive or external drive instead. Otherwise, the install itself could overwrite the deleted data.
Basic process:
- Open Disk Drill and select the drive where the files used to be.
- Click “Search for lost data.” It will run different scan types, including a deeper scan for harder-to-find files.
- Preview what it finds. If a photo or document previews correctly, that’s usually a good sign it can be recovered.
- Select the files you want and click “Recover.”
- Save the recovered files somewhere else, like an external drive, not back onto the same drive.
The Windows version also lets you recover up to 100MB for free, which may be enough if you only need a few small files back.
One catch: if the files were on an SSD, recovery can be a lot less reliable because of TRIM. TRIM can clear deleted blocks pretty quickly, so don’t leave the computer running and hope for the best. If the files are important, stop using the PC and scan the drive as soon as you can.
11 Likes
Check your cloud trash before you start scanning the disk. A lot of “deleted from Recycle Bin” cases are actually files that were synced through OneDrive, Google Drive, Dropbox, etc. Those services usually have their own deleted-files area on the website, separate from the Windows Recycle Bin. If the missing file was in Desktop, Documents, or Pictures, there’s a decent chance OneDrive was involved.
For a fully free local recovery attempt, I’d try Microsoft’s Windows File Recovery before paying for anything. It’s not as friendly as Disk Drill because it’s command-line based, but it’s free and made for this exact kind of situation. You still need to recover to a different drive, like a USB stick or external drive. Don’t recover back to C:, because that can overwrite the same data you’re trying to save.
Small correction to how people think about this: once the Recycle Bin is emptied, you’re not really “recovering from the Recycle Bin” anymore. You’re scanning the original drive for leftover file records or raw file signatures. That means original filenames and folder paths may or may not come back, especially after a deep scan. Disk Drill can be easier for previewing what’s recoverable, but if “free” is the main requirement, check cloud trash/backups first, then try Windows File Recovery, and only then bother with other recovery apps.
Don’t run cleanup tools, defrag, “optimize drive,” chkdsk, or a Windows reset while you’re trying to get the files back. Those can turn a recoverable deletion into a permanent loss, especially on the system drive. If the files were on C:, even installing a recovery app there is a bad move.
The free route I’d try is a little less convenient than the paid-app route: shut the PC down if possible, use another computer to make a Windows File Recovery USB setup, then recover to a separate external drive. Microsoft’s tool is ugly compared with Disk Drill, but free is free. The catch people miss is that it may dump files into recovery folders with messy names, so don’t expect a neat “put everything back where it was” button.
If you do try Disk Drill or another scanner just to see what’s there, treat the preview as the truth test. If a file previews correctly, your chances are decent. If it only finds filenames but the previews are broken, don’t waste hours assuming the paid recover button will magically fix them. For really important files, the safest move is to stop using the drive and scan it from another machine or from a bootable environment, because Windows itself keeps writing little bits of data in the background.
Don’t experiment on the only copy of the drive. If the files really matter, make a sector-by-sector image to another disk first, then scan that with Windows File Recovery, PhotoRec, or Disk Drill if supported. It’s slower and less convenient, but it keeps your failed attempts from making the original situation worse.