A macOS update failed on my Mac, and now my HFS-formatted drive won’t mount properly. I’m trying to recover important files without making the data loss worse. What are the safest HFS data recovery steps or tools to try after a failed macOS update?
I’d be careful with an HFS or HFS+ drive before trying to “fix” it. If the data matters, recovery should come before repairs. Running First Aid, reformatting, or messing with random tools can make things worse if the files are still recoverable.
The first move is simple: stop writing anything to that drive. Deleted files, emptied Trash, and even a quick format don’t always wipe the actual file data right away, but new data can overwrite it.
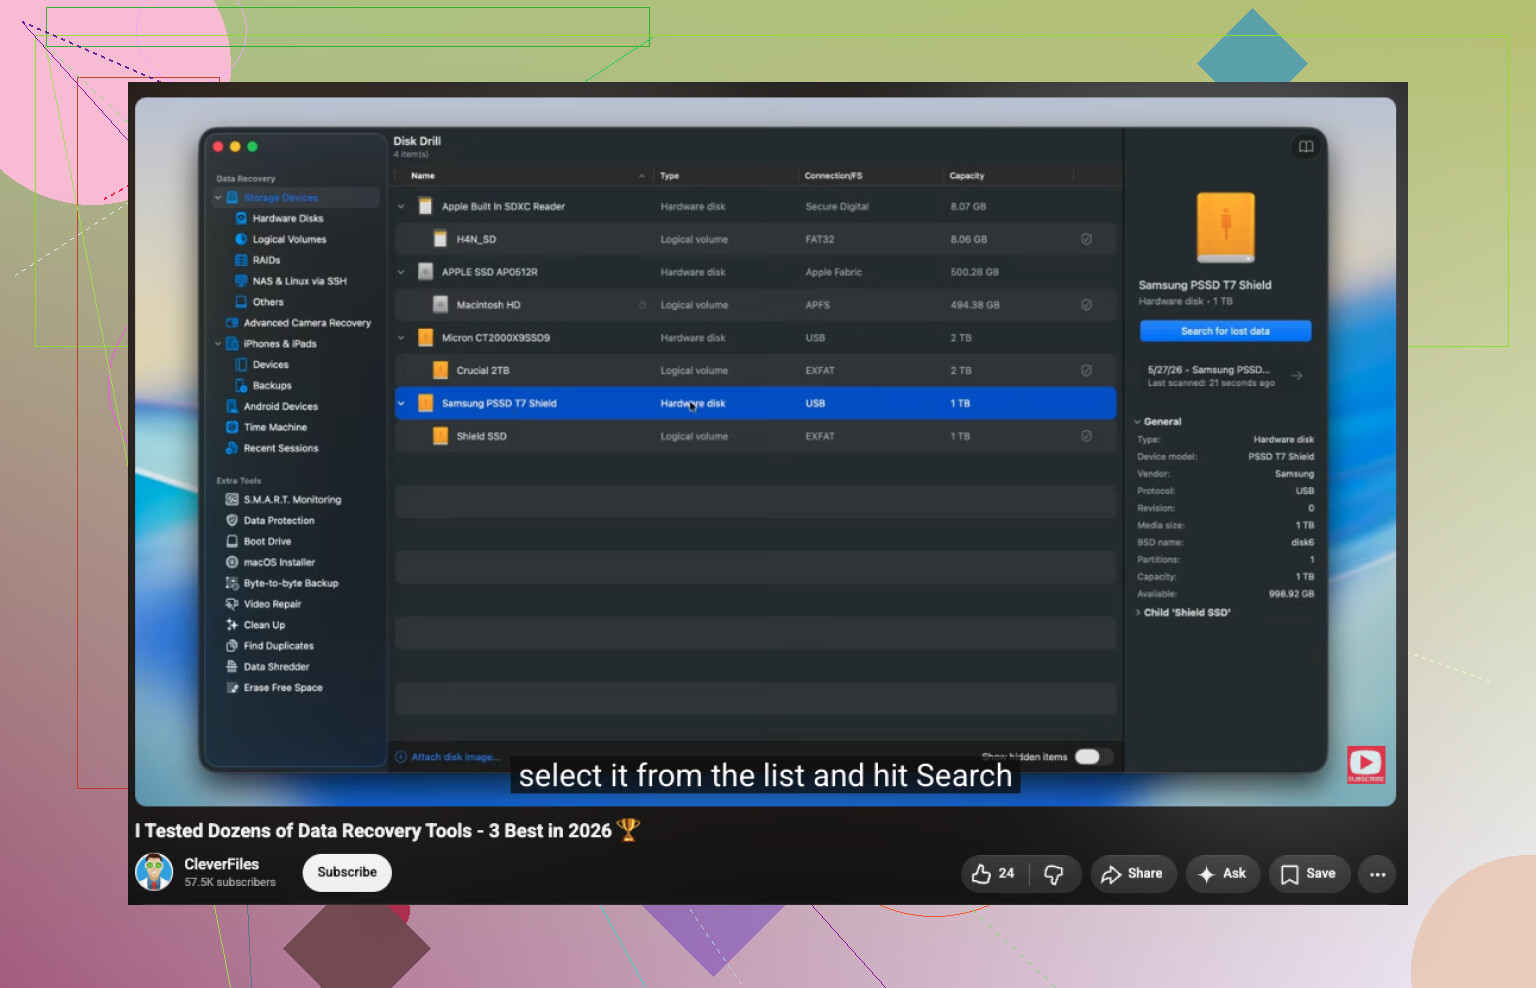
After that, check whether the drive itself is healthy. For an HDD, look at the SMART status using something like Disk Drill or DriveDx. If you see a bunch of bad sectors or serious SMART errors, don’t keep scanning the physical drive over and over. If it’s still readable, make a disk image first and scan that instead. It puts less stress on hardware that may already be failing.
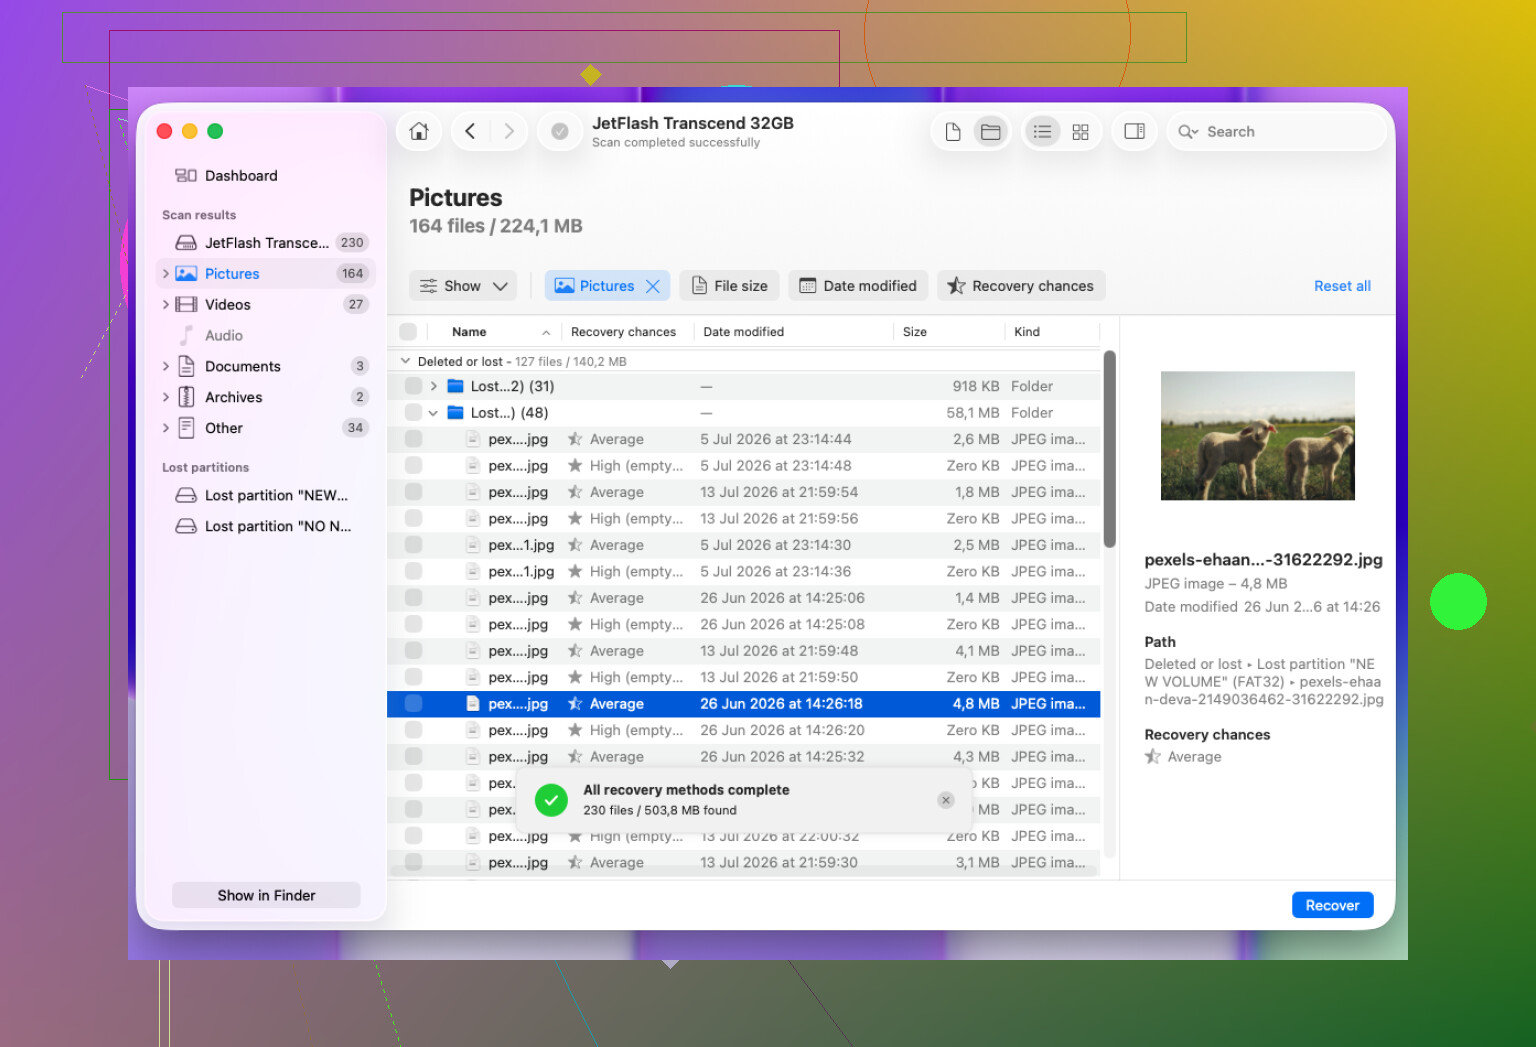
If the drive shows up normally and seems healthy, then recovery software is usually the next step. For HFS file recovery, Disk Drill is probably the easiest place to start since it supports HFS/HFS+, works with internal and external Mac drives, and doesn’t require much setup.
The basic flow is:
- Select the HFS/HFS+ drive in Disk Drill.
- Run Search for Lost Data. For external drives, Universal Scan is usually the safer default.
- Let the scan finish.
- Preview the results before recovering anything.
- Save the recovered files to a different drive, not the same one you’re recovering from.
If that doesn’t turn up the files, it depends what actually happened. TestDisk can be useful when the whole HFS partition is missing, but it’s not very friendly if you’re not comfortable with a text-based interface. And if you have a current Time Machine backup, use that first. It’s usually the cleanest option.
Trash emptying and quick formatting are both cases where recovery can still work, as long as the old data hasn’t been overwritten yet. The longer the drive stays in use, the worse your odds get.
I’d stop with DIY tools if the drive won’t appear in Disk Utility, keeps dropping offline, makes clicking or grinding sounds, or recovery apps keep failing with read errors. That points more toward hardware failure than a normal file system issue. In that situation, powering it on repeatedly can do more damage, so a professional recovery lab is the better call.
7 Likes
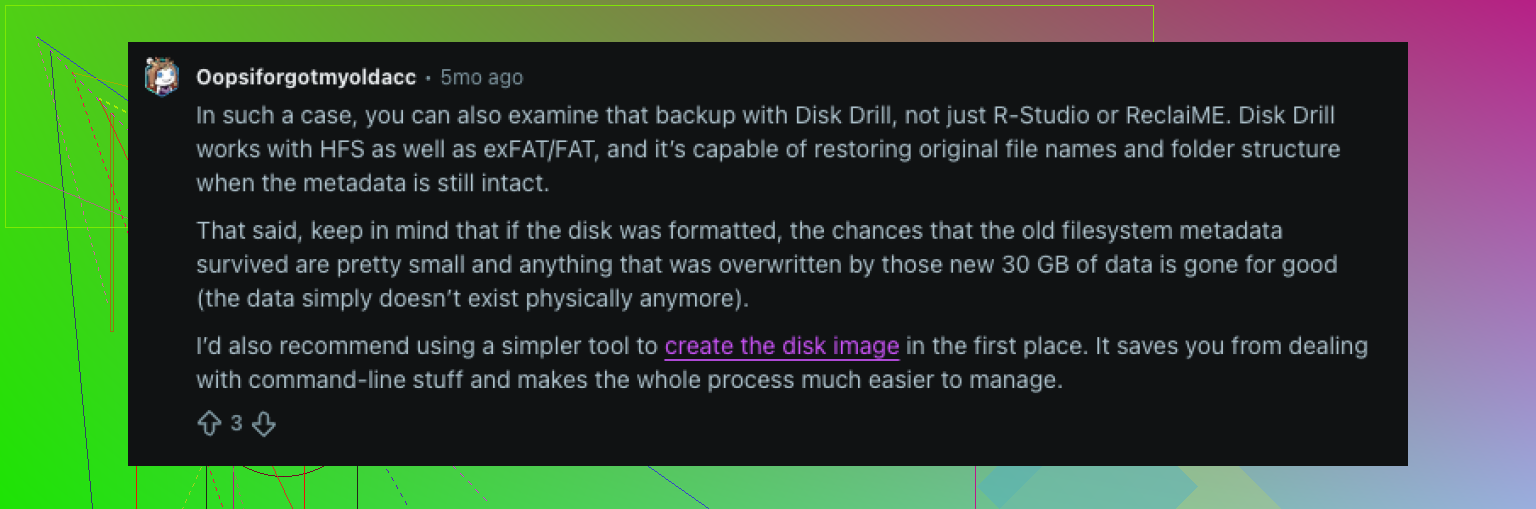
The sneaky risk is that macOS may keep trying to “help” the damaged HFS volume every time you plug it in, including mounting attempts, Spotlight indexing, or repair prompts you didn’t really ask for. I’d avoid booting from that same disk and instead connect it read-only if you can, or at least to another Mac where you immediately decline initialize/repair messages. Mike’s point about imaging first is the right priority, but I’d put that ahead of almost every app scan if the files matter. Once you have an image, then try Disk Drill or another recovery tool against the image, not the original. If the volume was encrypted HFS+/CoreStorage, make sure you have the password or recovery key before doing anything drastic, because “won’t mount” can turn into “can’t decrypt” pretty fast if you start changing the container.
A drive that won’t mount because the HFS catalog is scrambled is a different problem from a drive that disappears from USB every few minutes. The first one is often a software recovery job. The second one is a “stop touching it before it dies harder” situation. Before picking tools, watch how it behaves in Disk Utility or System Information: stable device name and size is a decent sign, constant disconnects or changing capacity is not.
I agree with the image-first advice, but the boring detail people forget is where that image goes. Don’t make an image onto the same Mac internal disk if it barely has space, and don’t save recovered files back to the HFS drive. You want another drive with more free space than the damaged disk. If the disk has read errors, a cloning tool that can skip bad areas and retry later is safer than a recovery app doing one long aggressive scan. If it reads cleanly, then scanning the image with Disk Drill or a similar tool is reasonable, especially if you need folder names and previews rather than just raw file carving.
I would not try to “repair” the HFS volume until after you have the data copied somewhere else. HFS+ repairs can rewrite catalog and extents data, and sometimes that makes a messy but recoverable volume harder to interpret. If you only need a few urgent files and the volume occasionally mounts read-only, copy those first, then do the slower full recovery path. That shortcut is imperfect, but sometimes faster than waiting through a full scan when the important stuff is obvious.