My USB flash drive suddenly stopped opening, and Windows now says it needs to be formatted before I can use it. It contains important files, so I don’t want to format it and lose the data. How can I safely access or recover my files?
Cancel the format prompt and stop using the USB drive for now. That Windows message does not necessarily mean the files are gone. It often means the file system is damaged badly enough that Windows can no longer read it.
This can happen after unsafe removal, an interrupted file transfer, a power loss, or general file-system corruption. Windows suggests formatting because that creates a fresh file system, but doing that before recovery can overwrite data you still need.
If the drive has suddenly become RAW or started showing format errors, I would not immediately run repeated scans on the physical USB. Bad sectors or failing hardware may be involved, and repeatedly reading an unstable drive can make recovery harder.
A safer approach is to open Disk Drill and make a byte-to-byte backup first. This creates an image containing every readable sector. You can then scan that image instead of putting more stress on the original drive.
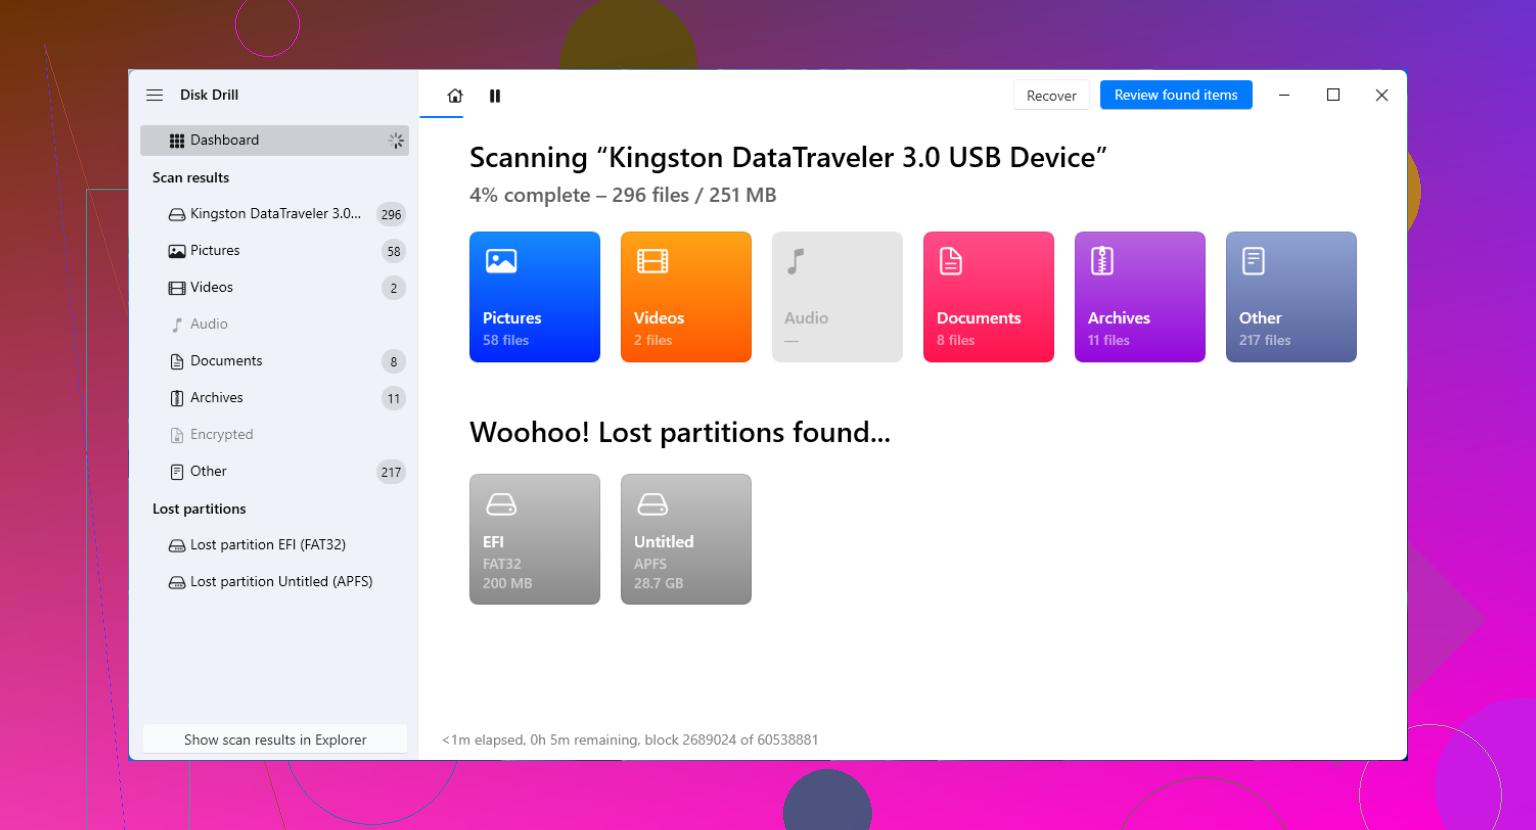
Once the image is ready, use Attach Disk Image in Disk Drill, select the image from the storage device list, and click Search for lost data. Let the Universal Scan finish, even if files start appearing early. Disk Drill may recover information from the remaining file-system data, then use file signatures when the file system is too damaged or the partition appears as RAW.
You do not have to wait until the scan ends to inspect the results. Open Review found items and narrow things down using categories such as Pictures, Video, Documents, and Archives.
Preview several important files before recovering them. Check that photos open properly, documents are readable, and videos play. A working preview is usually a good indication that the actual file data is recoverable, rather than Disk Drill finding only a filename or damaged fragment.
When you have found the files you need, select them and click Recover. Save them to your internal SSD, a different external drive, or another storage device with enough free space. Do not recover anything back onto the problem USB drive. Writing new data to it could overwrite files that have not been recovered yet.
Only format the USB after everything important has been copied somewhere safe. exFAT is a reasonable choice if you use the drive with both Windows and macOS. NTFS is usually more appropriate if the drive will mainly be used with Windows.
The order is what matters:
Stop using the USB → create an image if possible → scan the image → preview the results → recover the files to another drive → format the USB afterward.
Treat it as a recovery problem first and a drive-repair problem second. Formatting may make the USB usable again, but it should come after the files are safe.
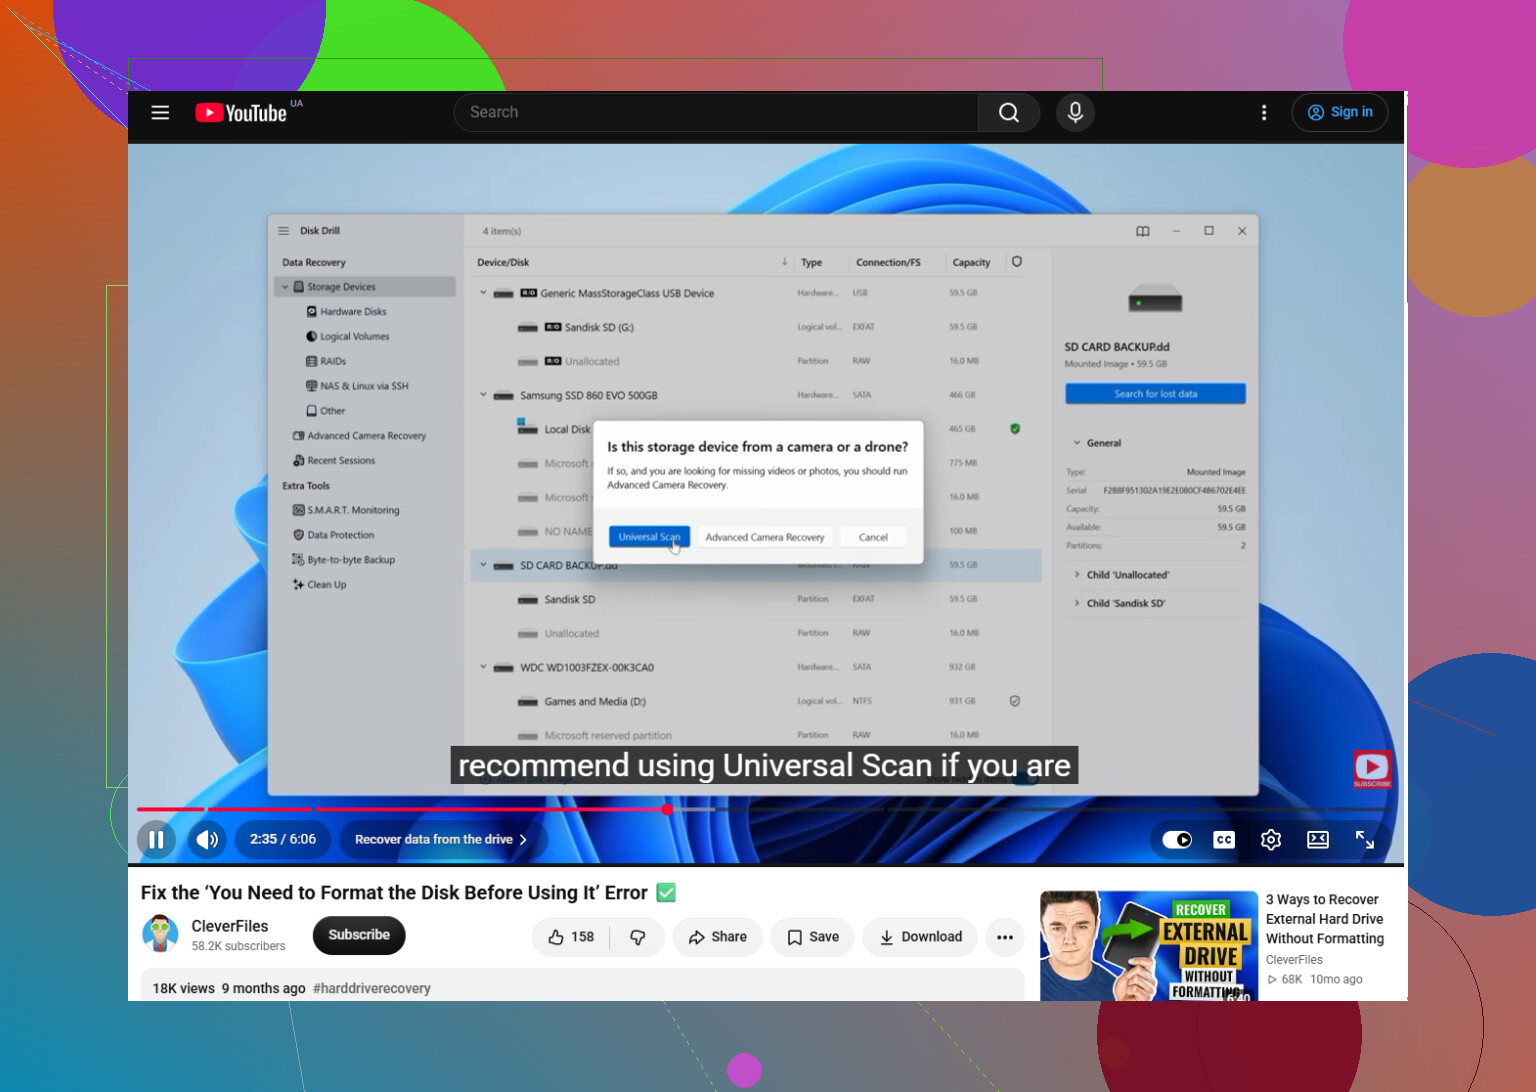
This video also walks through the process:
https://www.youtube.com/watch?v=dSrYeyo6T6o
33 Likes
Running CHKDSK is the hidden risk here. It writes changes to the file system and may turn recoverable folders into fragments, so avoid chkdsk /f, Windows repair prompts, and any “fix USB” tool until the files are copied elsewhere.
@serg_data’s image-first approach makes sense if the drive stays connected and reports its correct capacity. Disk Drill can image and scan it, but save both the image and recovered files to another drive. If the USB shows 0 bytes, the wrong size, keeps disconnecting, becomes unusually hot, or is missing from Disk Management, stop the DIY attempts. That points more toward controller or hardware failure, where recovery software may not be able to read the flash memory reliably.
Trying another USB port or another computer is fine as a quick check, preferably without a hub. Beyond that, don’t initialize, repartition, format, or write test files to it. If the data is irreplaceable, professional recovery is the safer move before repeated scans make a failing drive worse.
There may be no safe way to make the drive open normally again before recovering the files. The goal right now should be getting a copy of the data, not making the USB behave.
Check Disk Management, but only inspect what it reports. Look at the drive’s capacity and whether the partition shows as RAW, unallocated, or simply lacks a drive letter. Do not click Initialize, New Volume, Format, or Convert. If the size is correct and the connection remains stable, creating an image and scanning that image with Disk Drill is reasonable. The image needs to be stored on another drive with at least as much free space as the full capacity of the USB, not merely the amount of data you remember saving.
There is a less common possibility worth ruling out. Windows may display a format prompt when the drive uses a file system created by Linux, some cameras or other devices, or when an encrypted volume is being opened without the correct software or key. If this USB was recently used anywhere other than a normal Windows PC, identify that before treating it as corruption. Formatting would destroy the clues you need.
Expect recovery results to vary. If the file system metadata is badly damaged, recovered files may lose their original names and folder layout. Previewing several files from each important type is useful, but it does not guarantee everything else is intact. Recover the irreplaceable material first if the drive appears unstable.
I agree with @script8494 about avoiding CHKDSK. It is a repair utility, not a recovery utility, and repairing the only copy is the wrong order. I would go a step further than the earlier advice about formatting afterward: if this flash drive failed without an obvious cause, retire it after recovery. A successful format can make failing media appear normal for a while, but it does not make the drive trustworthy again.
If Disk Management shows a healthy partition with the correct file system but no drive letter, assign a new letter before trying recovery software. That won’t format the USB, but if it shows RAW or unallocated, leave it untouched and follow the image-first advice above.
Expect the recovered data to be less tidy than the USB was before it failed. If the file-system records are damaged, you may get generic filenames, missing folders, duplicates, and files that look normal until you open them. Windows offering to format the drive is its wonderfully unhelpful way of saying, “I can see something, but I don’t understand it.”
For a free image-first option, someone comfortable with Linux can use GNU ddrescue from a live USB. It copies readable areas first, skips trouble spots, and keeps a map file so the job can resume later. That is often preferable to repeatedly scanning a flaky flash drive. The catch is that selecting the wrong source or destination device can overwrite a healthy disk, so this is not the moment to guess which /dev/sdX is which.
Whichever imaging tool you use, make sure the destination has room for the USB’s full stated capacity. A 128 GB flash drive needs roughly 128 GB for a raw image even if only 20 GB was used. Keep another separate location for the recovered files, since extracting them into the same nearly full disk as the image tends to create a new problem while solving the old one.
After recovery, check the files themselves rather than trusting filenames and thumbnails. Open documents, test archives, and play videos beyond the first few seconds. Then make a second copy of anything important. A recovered file sitting alone on another aging drive is still only one failure away from disappearing again.
Before you even start imaging, plug it in and just watch whether it stays mounted for a few minutes. Cheap USB sticks with a dying controller often drop out halfway through a byte copy, and a half-finished image is worse than knowing upfront the hardware is the real problem. @serg_data’s image-first order is right, but it only works if the drive actually holds a stable connection long enough to read.
Leaving the USB connected while repeatedly opening File Explorer can trigger thumbnails, antivirus scans, and other background reads. Eject it for now, then reconnect only when you are ready to image or recover it, with all recovered files saved elsewhere. If it disconnects during that first read, stop rather than retrying it over and over.
If you image the USB yourself, unplug every nonessential external drive first and identify the problem stick by its reported capacity. Selecting the wrong source or destination can overwrite a healthy disk, so double-check before starting any copy or recovery operation.
Check the destination drive before creating an image. If it is formatted as FAT32, it cannot hold a single file larger than 4 GB, so imaging may fail partway through even with plenty of free space. Use an NTFS or exFAT destination, and keep separate space available for the recovered files.
Try the USB on a diffrent computer, preferably a Mac or a Linux PC. Do not accept any format prompt. Another operating system sometimes reads damaged FAT or exFAT volumes Windows rejects.
If the files appear, copy the most important ones immediatly to a separate drive. Start with small documents and photos, then larger videos or archives. Do not move, rename, delete, or edit files on the USB.
Also try a rear USB port on a desktop, without a hub or extension cable. A weak port often causes unstable connections.