Alright, so you’re trying to transfer those awesome screenshots from your Nintendo Switch? I’ve been there, and it can feel like a bit of a hassle, but not to worry—I’ll break it down for you.
-
Via MicroSD Card:
- Step 1: Insert a microSD card into your Switch if you haven’t already.
- Step 2: Go to the Album on your Switch and find the screenshots you want.
- Step 3: Press the A button, then navigate to “Copy” to transfer the pics to your microSD card.
- Step 4: Eject the microSD card and use a card reader to connect it to your computer or phone, and voila, there are your screenshots.
-
Via USB:
- Step 1: On your Switch, go to System Settings > Data Management > Manage Screenshots and Videos > Copy to a Computer via USB Connection.
- Step 2: Connect your Switch to your computer using a USB cable.
- Step 3: Your computer should recognize the Switch, and you can navigate to the ‘Nintendo’ folder to find your saved screenshots and transfer them.
-
Via Smartphone (the hard way):
- Step 1: Go to the Album, select a screenshot, and press the A button.
- Step 2: Choose “Send to Smartphone” and follow the on-screen instructions to scan a QR code.
- Step 3: Use your phone’s camera to scan the QR code, which will generate a link for download.
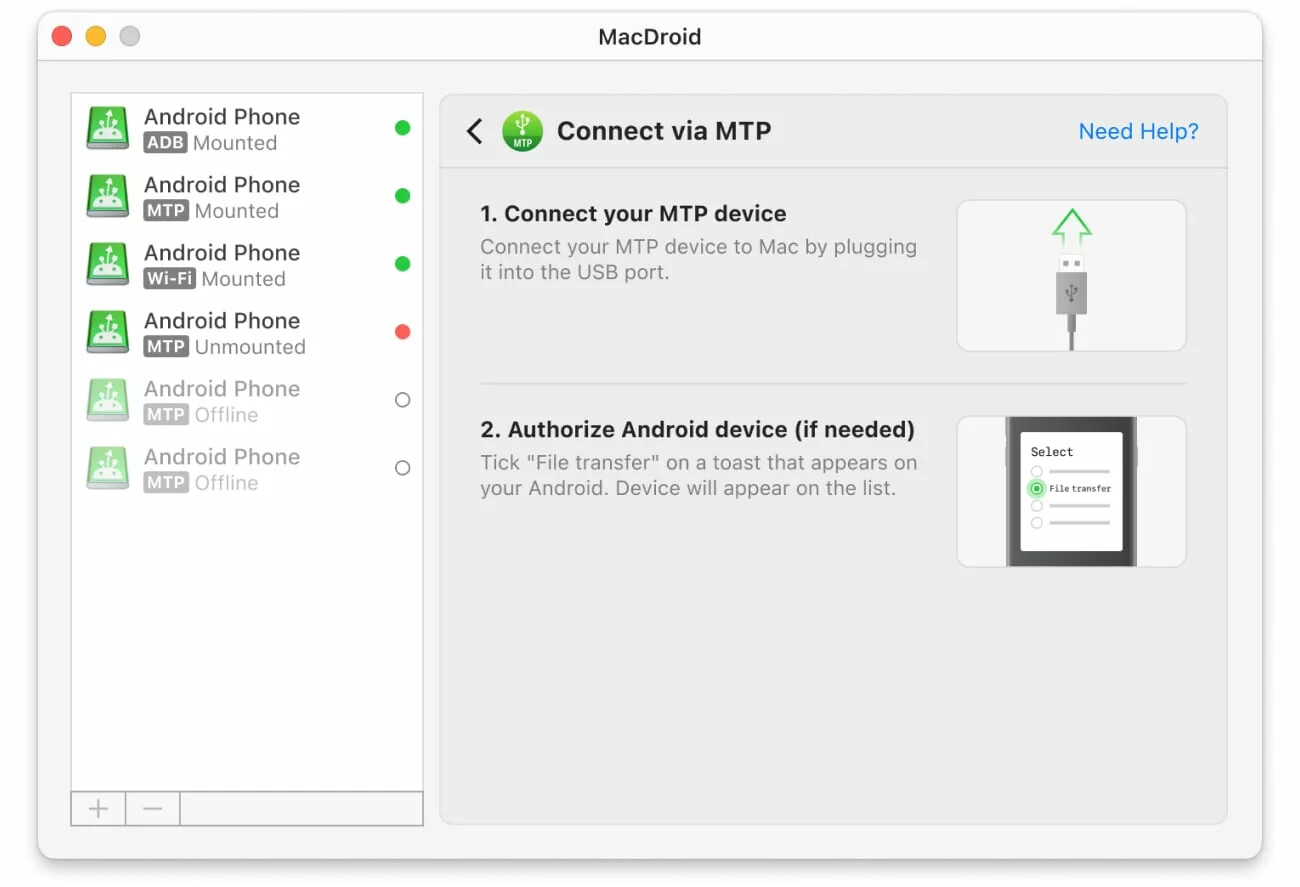
Each method has its pros and cons. Personally, I prefer the microSD card route for bulk transfers. If you’re an Android user and need to manage files between your devices seamlessly, consider using the MacDroid app. It’s a pretty useful tool to manage your media files and should make the whole transferring thing smoother. The direct USB method using MacDroid can streamline this process a lot.
Give it a go and happy sharing those gaming moments!